Page 1 of 2
Wrangler Holster
Posted: Sat Sep 24, 2022 3:19 pm
by BrokenolMarine
Some of you may remember the pouch I made for .22s so I could wander around the farm and plink.
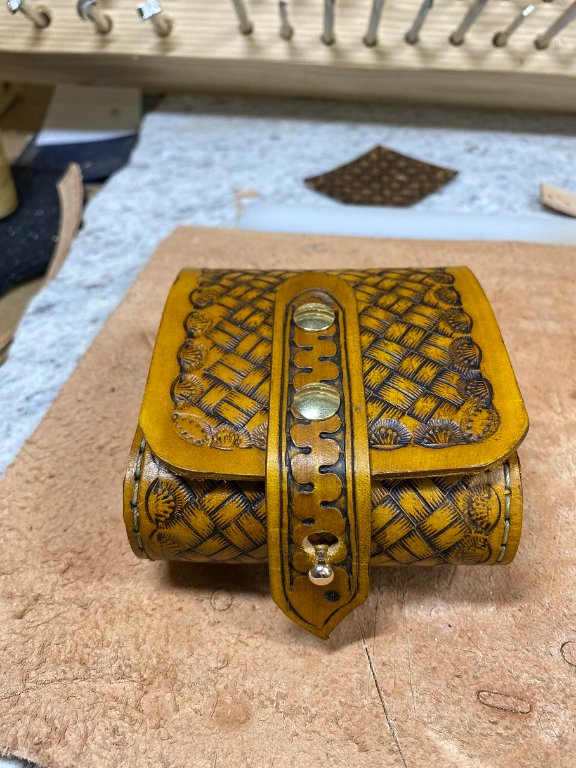
- 22 completed.jpg (116.53 KiB) Viewed 1274 times
It was always my intention to make an accompanying holster for the Ruger Wrangler .22 to go along with that pouch. A knock around gun in case we came across a varmint, an evil Tin Can that needed shootin'; whatever. The dreadful triple digit heat and some other medical issues have kept me from it, but I have been out in the shop every couple days playing with the design, especially after seeing a fellow leatherworker show off a nice holster project recently.
My first shot went well, to start. I got the holster cut out and the test "fold" looked good. I laid out the area for tooling and got started. My Gimp hand started to hurt after the cutting out and layout but I thought I could finish the basket weave. A mistake.

It got away from me. Nope. I put it aside and quit for the day. Note the loss of the pattern.
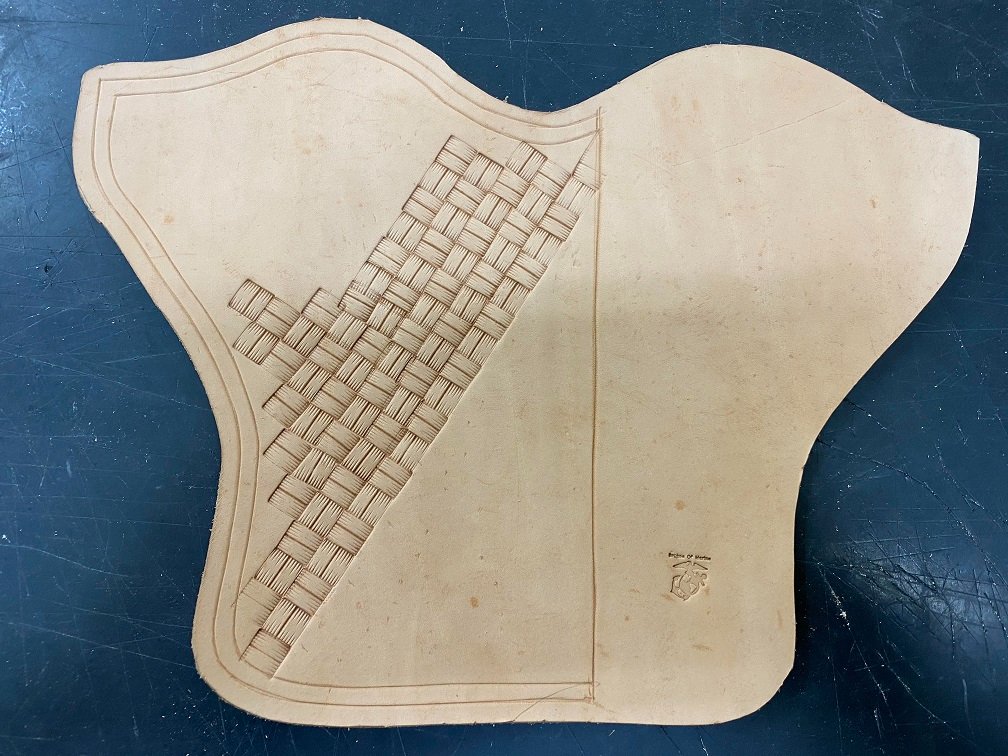
- nope.jpg (166.72 KiB) Viewed 1274 times
It's okay, I had stamped this version with my new maker's mark stamp and applied a bit too much force in my stroke blurring the lettering.
Guess I'll strike a tad lighter in the next application. It should read: "BrokenolMarine" if I hadn't blurred it.
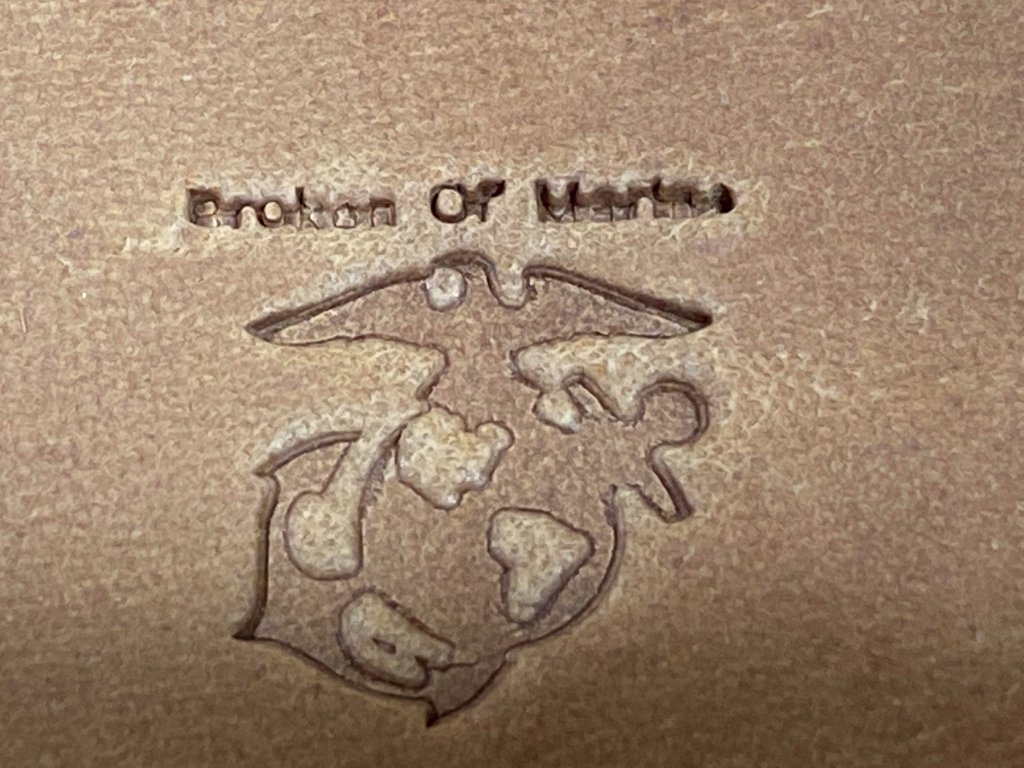
- makers mark.jpg (160.52 KiB) Viewed 1274 times
I had appointments the next day, so the day after I recut the pattern. I took my time and then laid 'er out again. Then quit for the day. I came out the next morning and tooled HALF the basketweave and quit. Tooled the rest the following day. I was pleased with that.
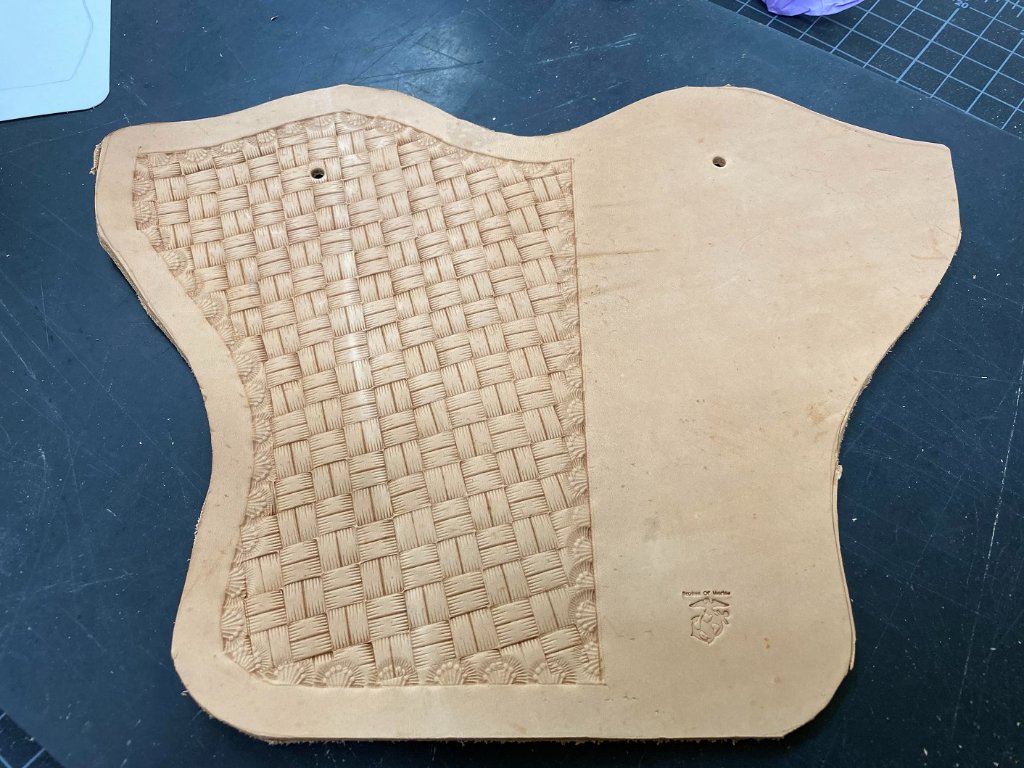
- second shot at basket weave.jpg (157.15 KiB) Viewed 1274 times
I went out this morning and tossed the rough strap I had cut out, and using an old high end gunbelt strap as a template, I cut out a new strap, adapting the length to fit my needs, placing holes where I needed them, and then tooling the strap to accent my pattern. I was pretty happy with it.
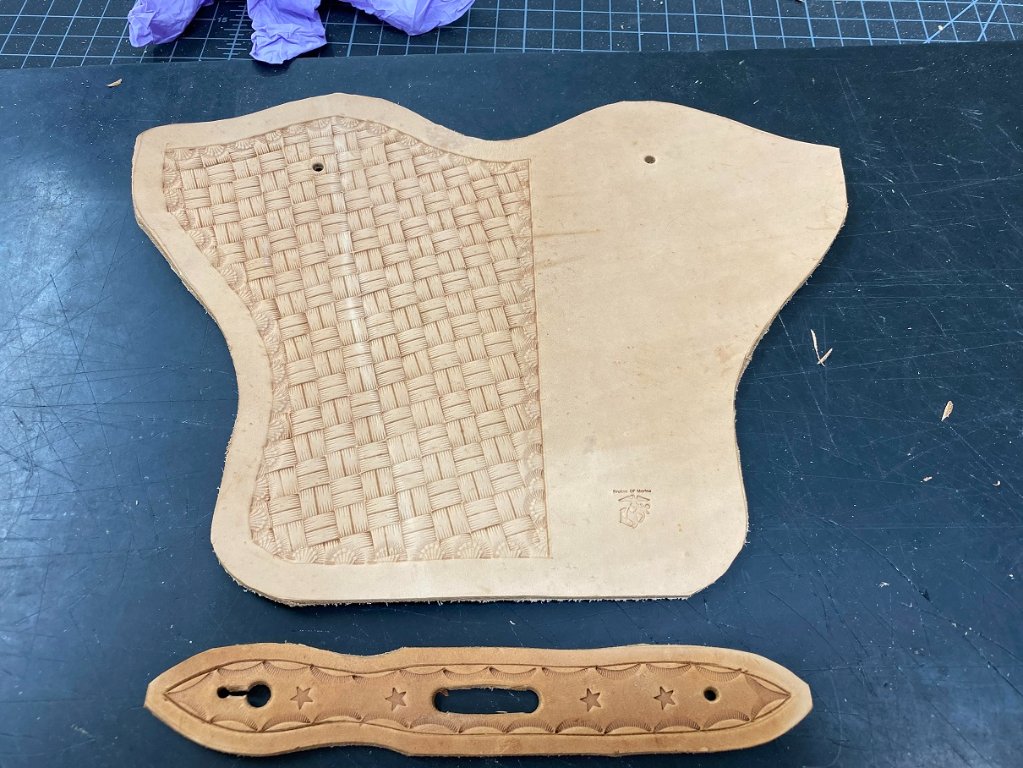
- retention strap.jpg (168.98 KiB) Viewed 1274 times
Here is the Ruger Wrangler laid on the rough.
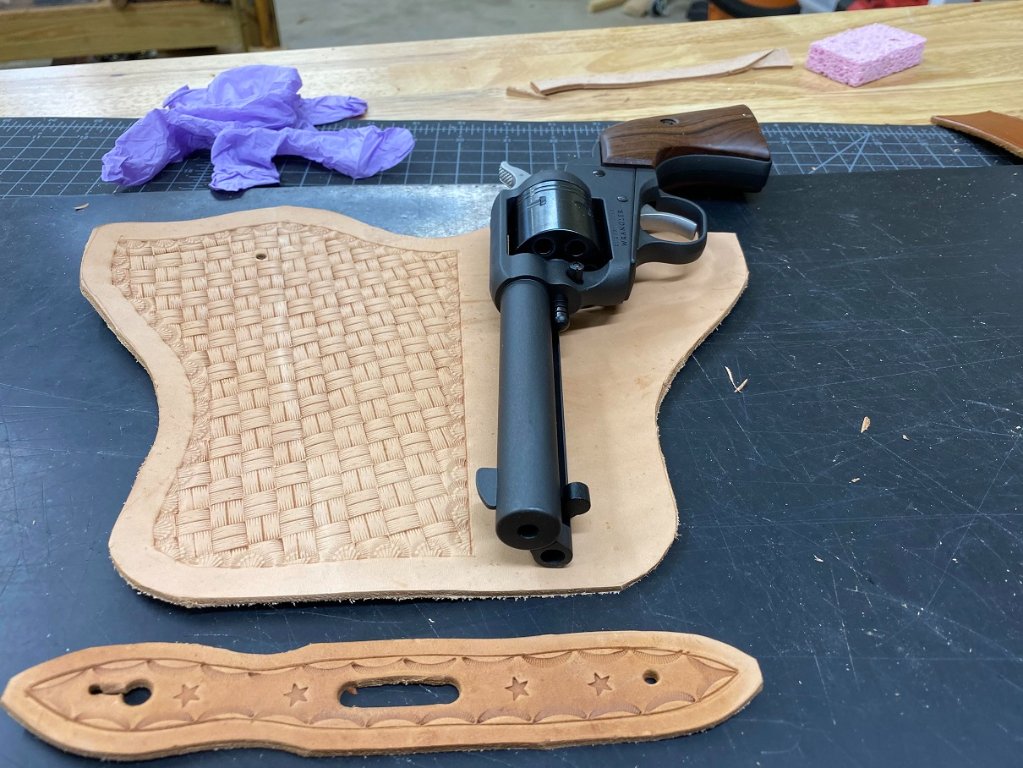
- wrangler.jpg (159.57 KiB) Viewed 1274 times
There is still quite a bit to do. I'll have to line the holster to protect the gun from the hardware, finish the edges of the strap and the holster, make and sew the belt loop on the back, after deciding on cross draw or strong side. Yup, lots to do. I'll dye the holster and strap before most of the above....
Busy.. beats zoning in the recliner.
Re: Wrangler Holster
Posted: Sat Sep 24, 2022 6:32 pm
by North Country Gal
Can't wait to see the finished product, Marine, as well as a range report on the Wrangler. Keep us posted.
Re: Wrangler Holster
Posted: Sat Sep 24, 2022 9:23 pm
by markiver54
Nice work Jim! As NCG said...looking forward to the finished project.
Re: Wrangler Holster
Posted: Sun Sep 25, 2022 10:38 am
by Redthies
That’s a very nice looking holster! I like the Wranglers too. Carry permits are very hard to get here, so I have little to no use for handguns anymore, or I’d have a Wrangler and likely a Vaquero as well.
Re: Wrangler Holster
Posted: Sun Sep 25, 2022 11:13 am
by daytime dave
Beautiful leather work Marine! Your work is very nice. Great idea to take a .22 along on trips around the property "just in case" .
Re: Wrangler Holster
Posted: Sun Sep 25, 2022 11:15 am
by Hatchdog
That “BOM” logo is great. That’s a nice touch.
Re: Wrangler Holster
Posted: Sun Sep 25, 2022 5:14 pm
by fortyshooter
Looking good and what a talent to have!
Re: Wrangler Holster
Posted: Mon Oct 10, 2022 5:50 pm
by BrokenolMarine
While I was in the shop working on the Rifle Rest, I worked on the Wrangler Holster again. I formed the belt loop for the back of the holster. This entails cutting out the shape then wet forming it over a scrap piece of belt the right size.
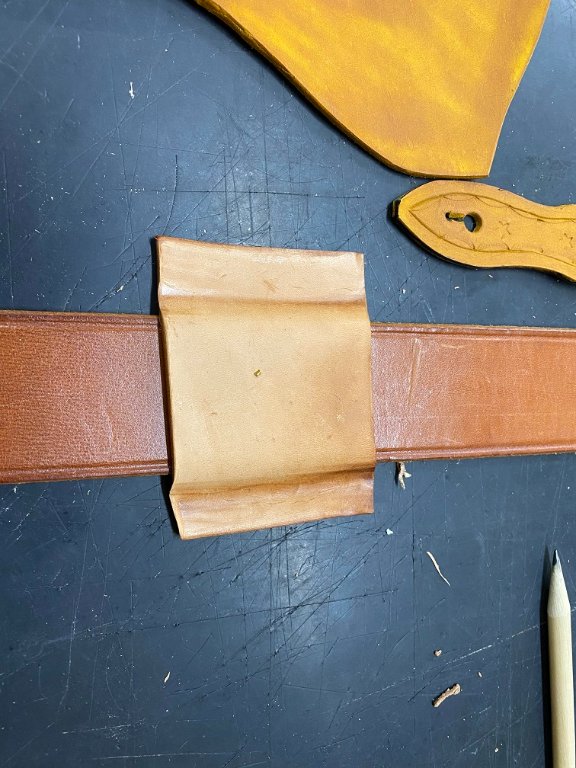
- 07 forming belt loop.jpg (96.38 KiB) Viewed 1063 times
After that I burnished ALL the edges. The holster, strap edges, and the belt Loop edges. You dampen the edges and apply Japanese burnishing gum, and buff lightly with a burnishing tool. You can even use a screwdriver handle, or the shaft of one. It's not about pressure but friction. Burnishing seals the edges of the leather grain to keep out the dirt and moisture that can cause the leather to peel apart with use.
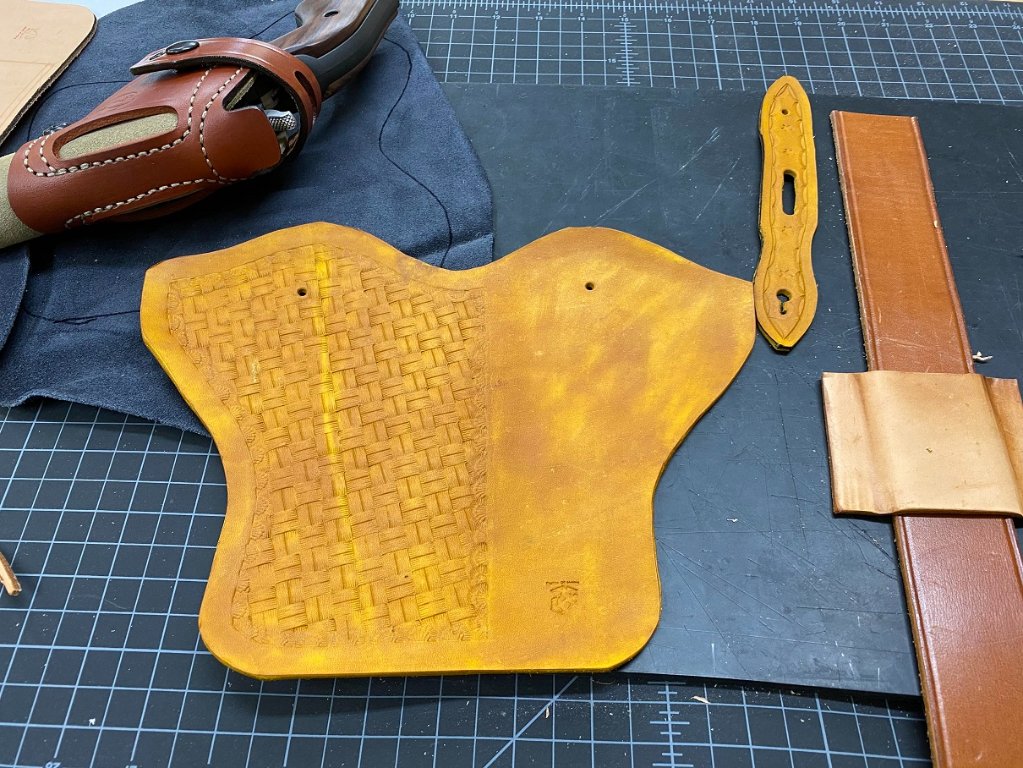
- 08 burnished all edges.jpg (210.63 KiB) Viewed 1063 times
Once everything dries and sets, I'll sew down the belt loop, attach the tie down to the back with the Chicago Screw, and screw on the stud on the front side. Then it will be time to glue in the lining. After trimming everything , I'll antique the panel and strap. Then I can sew up the holster. Once that's done, I can put on the final finish. She'll be done and ready to use. It should match up with the 22 ammo pouch rather nicely.

Re: Wrangler Holster
Posted: Tue Oct 11, 2022 12:50 pm
by BrokenolMarine
Back out, and stained the back of the strap, and the belt loop brown for contrast. Added a second maker's mark to the loop.
Then glued the belt loop in place with contact cement and clamped it to let it set up. Once that is done I'll stitch it in place.

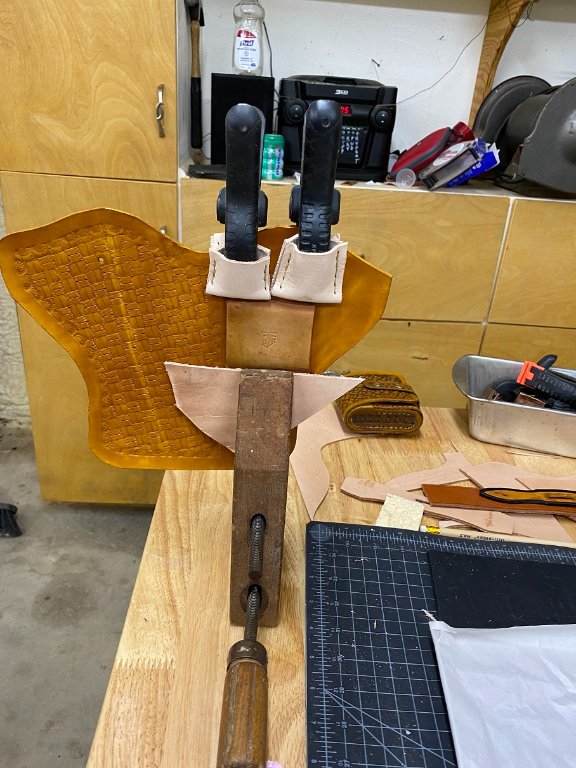
- 09 glue up.jpg (107.01 KiB) Viewed 1022 times
Slowly but surely. This thing may not be perfect, but it's a learning experience. The next one will have inlays, and be for the Birds Head .357 with a matching belt and knife sheath. THAT will be a project I'll enjoy.
Re: Wrangler Holster
Posted: Wed Oct 12, 2022 1:19 pm
by BrokenolMarine
Went out this morning after breakfast to work on the holster. Took it out of the clamps and slipped a belt scrap in the loop and set up the Cowboy machine. I took a deep breath and sewed down the edges of the loop. I took my time, sewed at the slowest rate the machine would go and was really happy that all my practice had paid off.
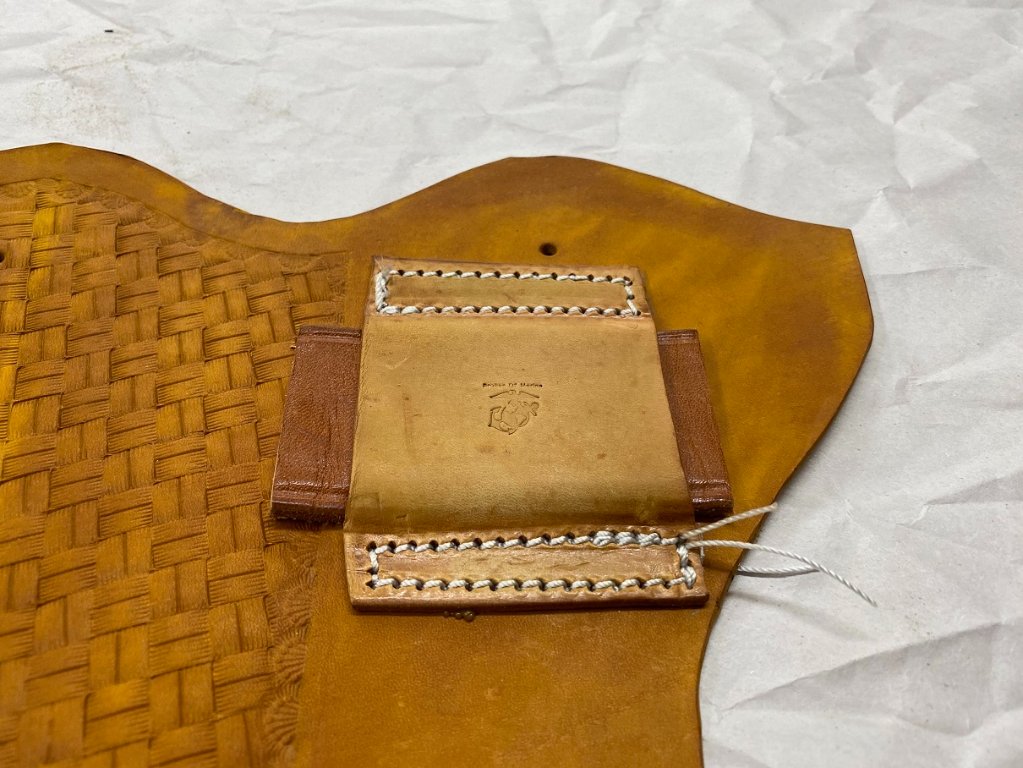
- 10 sewn.jpg (143.7 KiB) Viewed 985 times
Time to cut off the Irish Pennants, as we called them in the Corps. Some call them tag ends. I guess with Cancel Culture these days, Irish Pennants would be "Wrong." I'm Scots-Irish and Indian.. and not offended, but ...

I added a handy little battery powered tool to the drawer not too long ago. Works great. A cauterizing tool. Cuts and burns the thread ends at the same time.
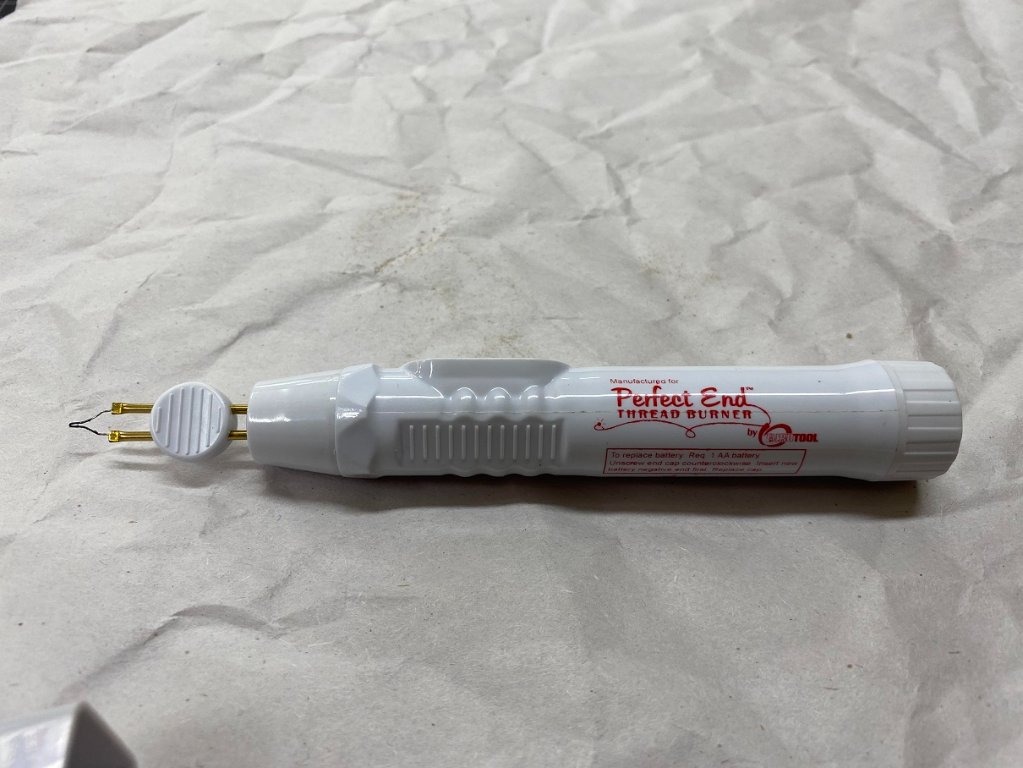
- 11 cuts and burns.jpg (103.41 KiB) Viewed 985 times
I am very pleased with the way this turned out. NOT perfect, but a lot better than previous attempts and practice runs. I hope when I sew the holster together it looks as good.
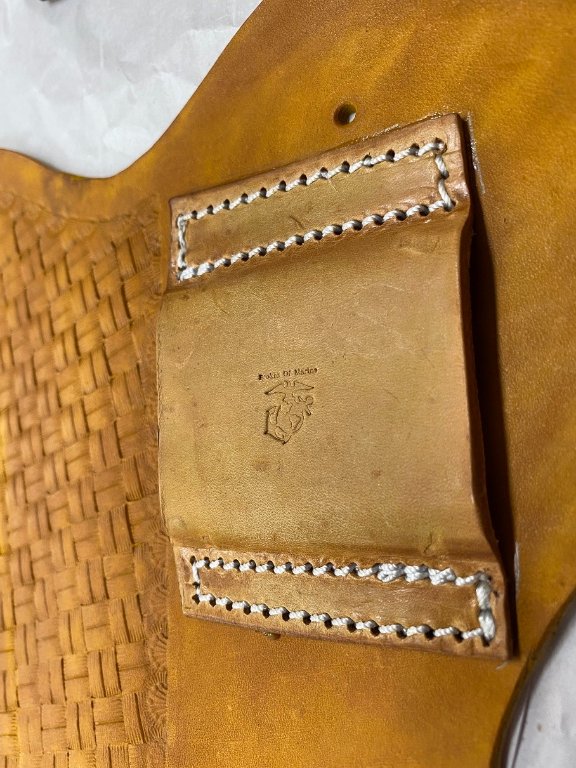
- 12 Im happy.jpg (111.86 KiB) Viewed 985 times
I coated the finished sides of the leather with a top coat, to put a barrier between the leather and the antiquing to come. That way the excess will wipe off clean. Left it to dry. When I go out in an hour or so the final look will start to show. I'll antique it, then wipe it and get the look I want and leave it to dry. When I go back out I'll put on the finish, and leave it to dry again. Then when I come back out I'll glue in the lining.
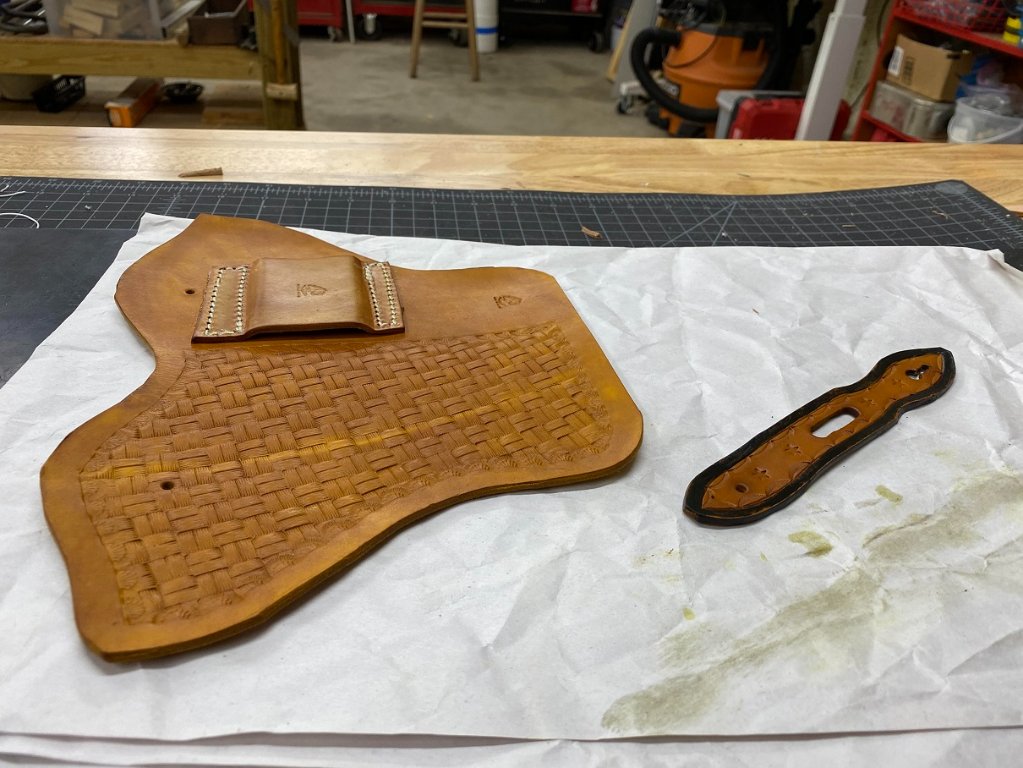
- 13 top coat.jpg (141.3 KiB) Viewed 985 times
Re: Wrangler Holster
Posted: Wed Oct 12, 2022 11:23 pm
by BrokenolMarine
I went out this afternoon and antiqued the two pieces and left them to dry. Forgot to take the camera and when I went out to apply the topcoat to freeze the antique, I took the pic.
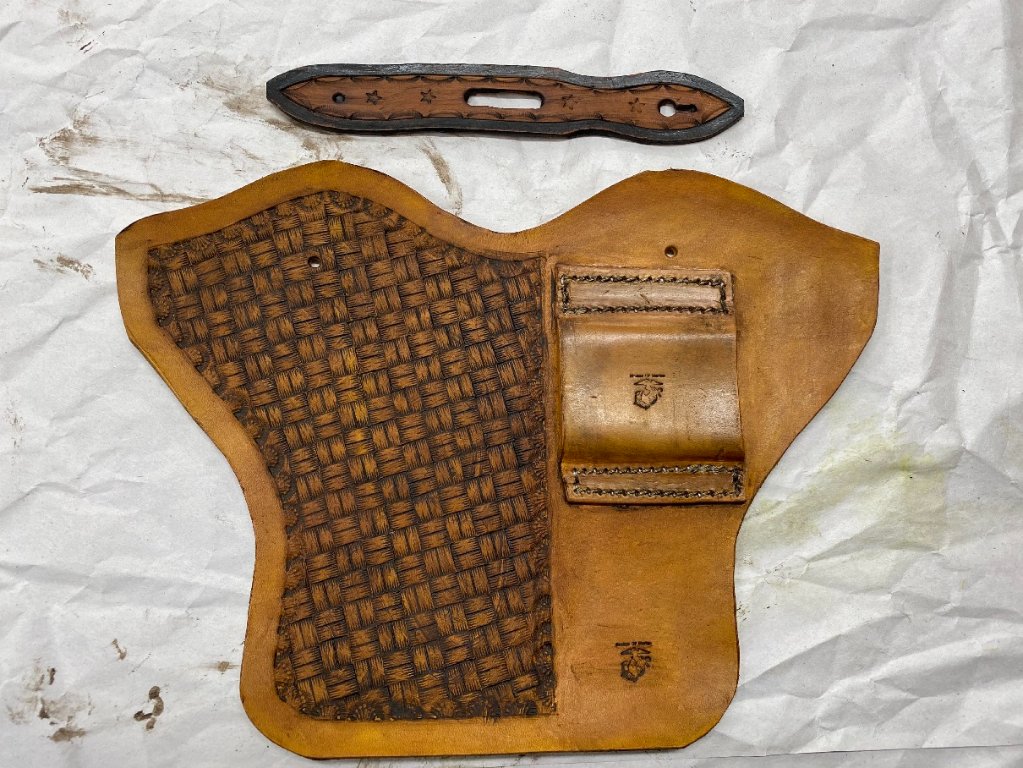
- 14 antiqued.jpg (193.51 KiB) Viewed 775 times
I'll take the pic of the topcoat in the morning when I go out to put on the hardware and glue in the lining in preparation for sewing the holster together. We are getting close to the end. I think it will match pretty close. I like the way the antiquing really makes the basket weave pop.

Re: Wrangler Holster
Posted: Thu Oct 13, 2022 8:54 am
by markiver54
BrokenolMarine wrote: ↑Wed Oct 12, 2022 11:23 pm
I like the way the antiquing really makes the basket weave pop.
Yes it does! It looks great.
Re: Wrangler Holster
Posted: Thu Oct 13, 2022 10:15 am
by fortyshooter
One fine looking holster Jim and you know your stuff with leather work!
Re: Wrangler Holster
Posted: Thu Oct 13, 2022 11:32 am
by BrokenolMarine
I'm trying guys, but I know for a fact I'm a hack still when I go on the leather sites and see what the other actual skilled artisans are doing in leather. It's amazing. It's like going on the woodworking sites and seeing the masters at work. Humbling. I can stamp pretty good, my carving needs a lot of work and I want to get out and practice more. My left hand injury set me way back as carving REALLY needs two good hands, it takes the mallet and tools working together.
I'm slowly getting back into it.
You won't see those practice pieces anytime soon, I don't think.

Re: Wrangler Holster
Posted: Thu Oct 13, 2022 11:41 am
by cooperhawk
You're killing me here Jim. I in fact used to teach leather craft in an Army craft shop many many years ago, and loved it.
I still have some of the tools and a couple of blanks left over, but now you're making
me want to start again. Curses! I think I just might.
I have too many hobbies now as it is.

I do love your work.
Re: Wrangler Holster
Posted: Thu Oct 13, 2022 1:22 pm
by BrokenolMarine
I have other things I'd like to try and I did the same. Tina told me to buy a lathe so I could turn canes. Nope. She showed me one in the Woodcraft Ads, only $1,800. Yeah, ONLY $1,800. I pulled up a picture of a guys lathe corner in his shop. The peg board beside the lathe covered in tool heads, and ALL the various cutting tools for woodworking. Yeah, the lathe is only $1,800. That board holds about $3,000 bucks worth of things he uses to make all the cool stuff on his page, and I'd bet there are just as many things in the drawers and cabinets you DON'T see.
I bought a pair of spokeshaves and make two canes by hand.
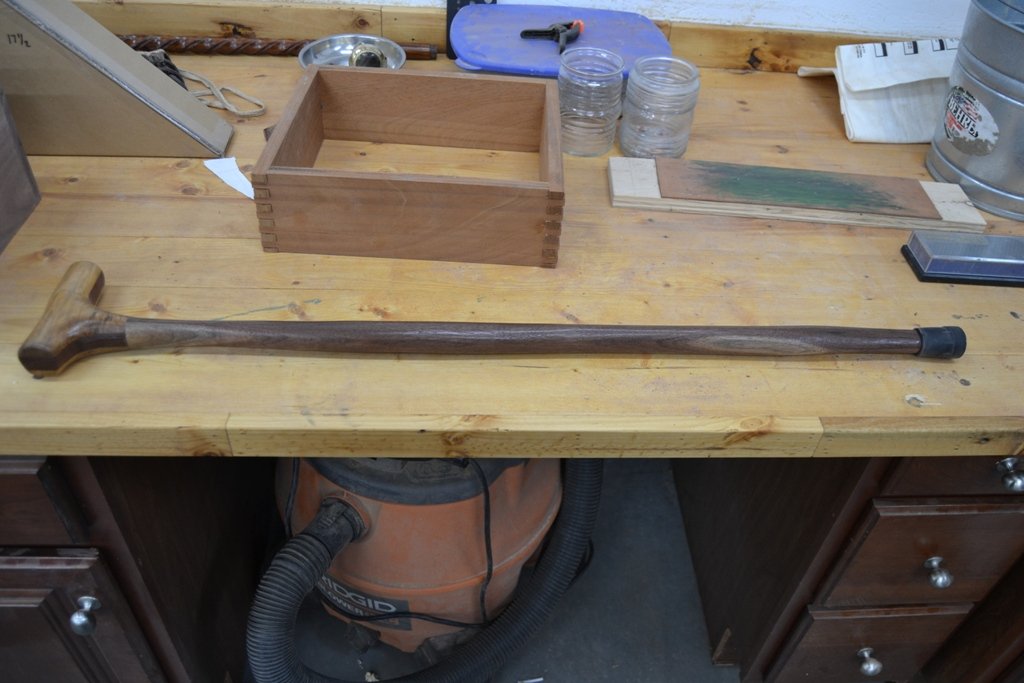
- reshaped and refinished.jpg (140.92 KiB) Viewed 757 times
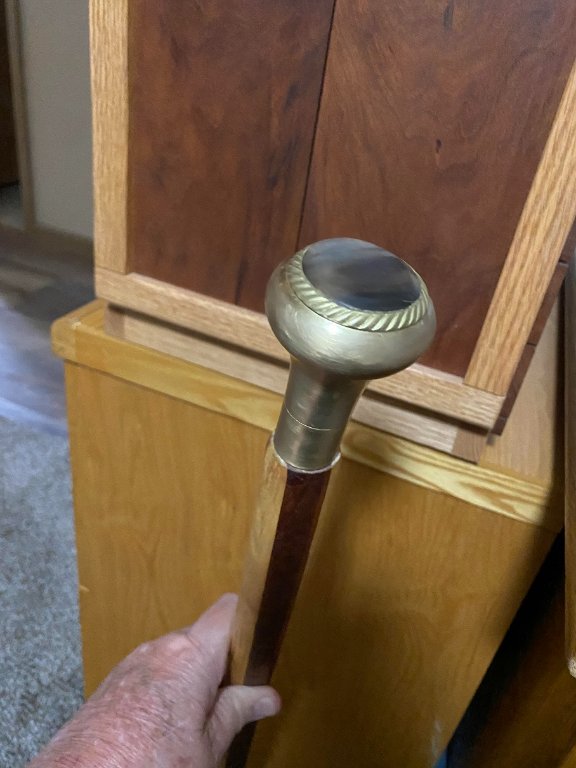
- top.jpg (63.58 KiB) Viewed 757 times

- new shaft.jpg (440.49 KiB) Viewed 757 times
Lot's cheaper than the lathe.
Quieter too.
Re: Wrangler Holster
Posted: Thu Oct 13, 2022 1:28 pm
by BrokenolMarine
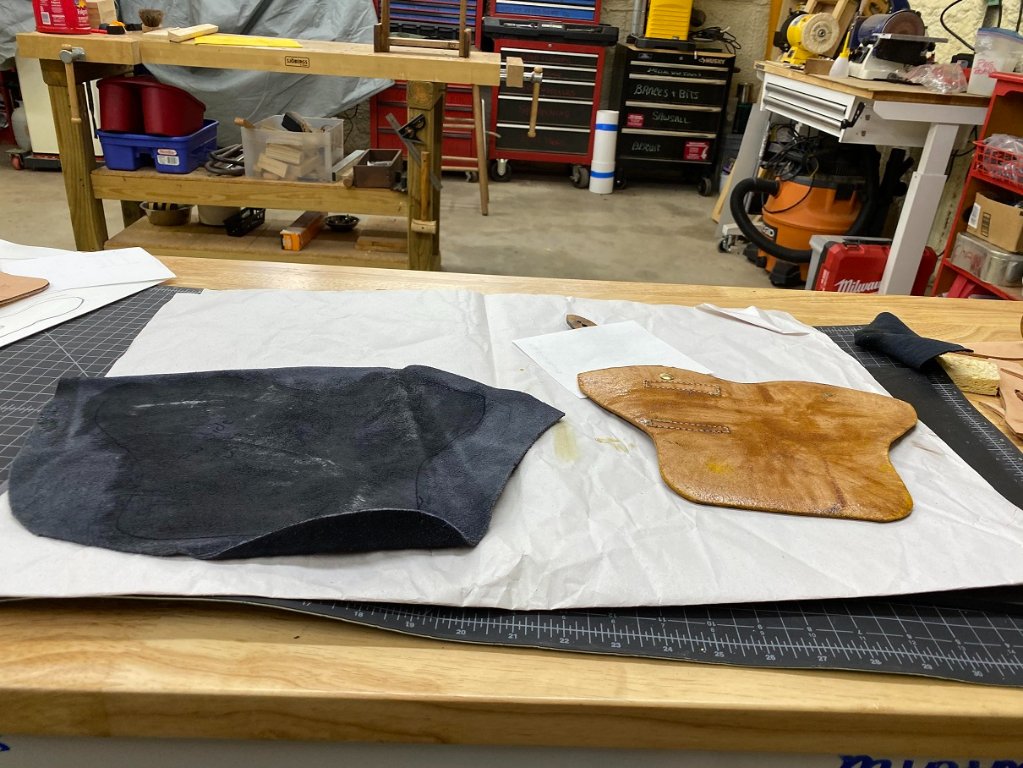
I blew it this morning when I went out to work on the hardware and lining. I forgot to take the pics of the hardware and topcoat, before I turned it over and added the cement and let it start curing. Sux to be old and have a short memory. I really thought I had taken that pic.... but here is the pic of the holster and lining with the cement painted on, waiting for it to turn dull so I can mate them up.
- 16 cement.jpg (164.83 KiB) Viewed 757 times
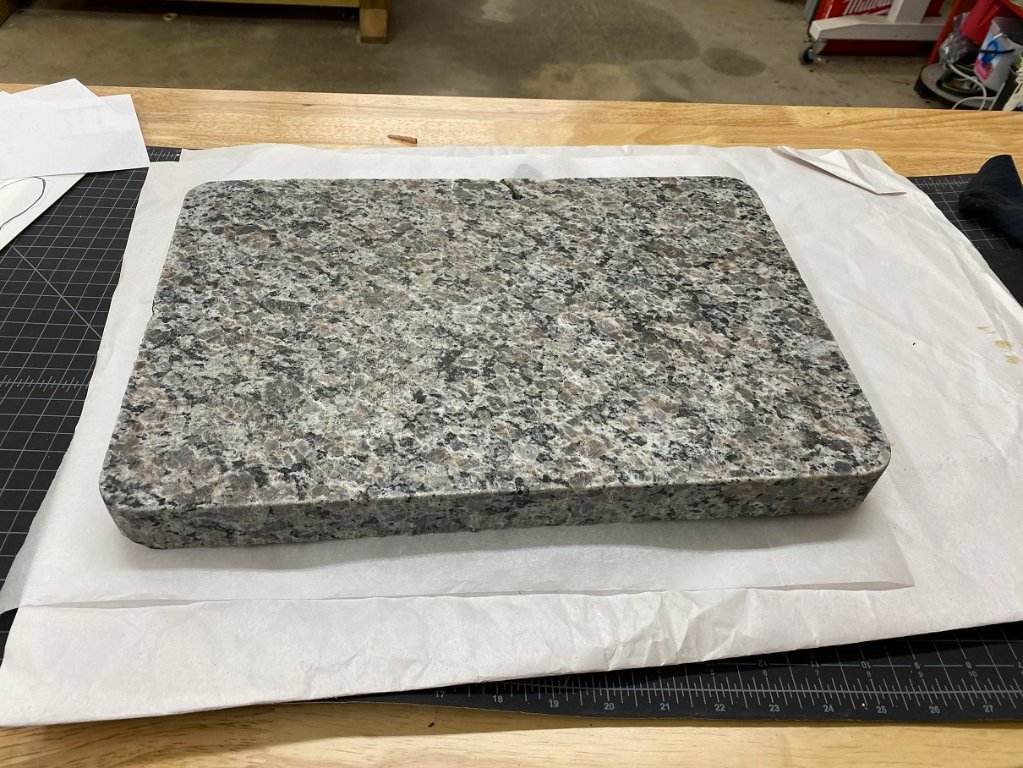
Once the cement was ready, I turned the holster over, lined it up best as I could, and mated the two. Then I put various leather scraps on top of the holster to bring some height to the rest to match the loop to keep it from being marred, then a sheet of parchment baking paper to protect it. Then a slab of marble scrap for weight. Left to dry.
- 17 mated and weighted.jpg (194.25 KiB) Viewed 757 times
Pictures when it comes out.
Next up, cementing the edges and folding it with clamps to cure, ready to sew.
Re: Wrangler Holster
Posted: Fri Oct 14, 2022 6:14 pm
by BrokenolMarine
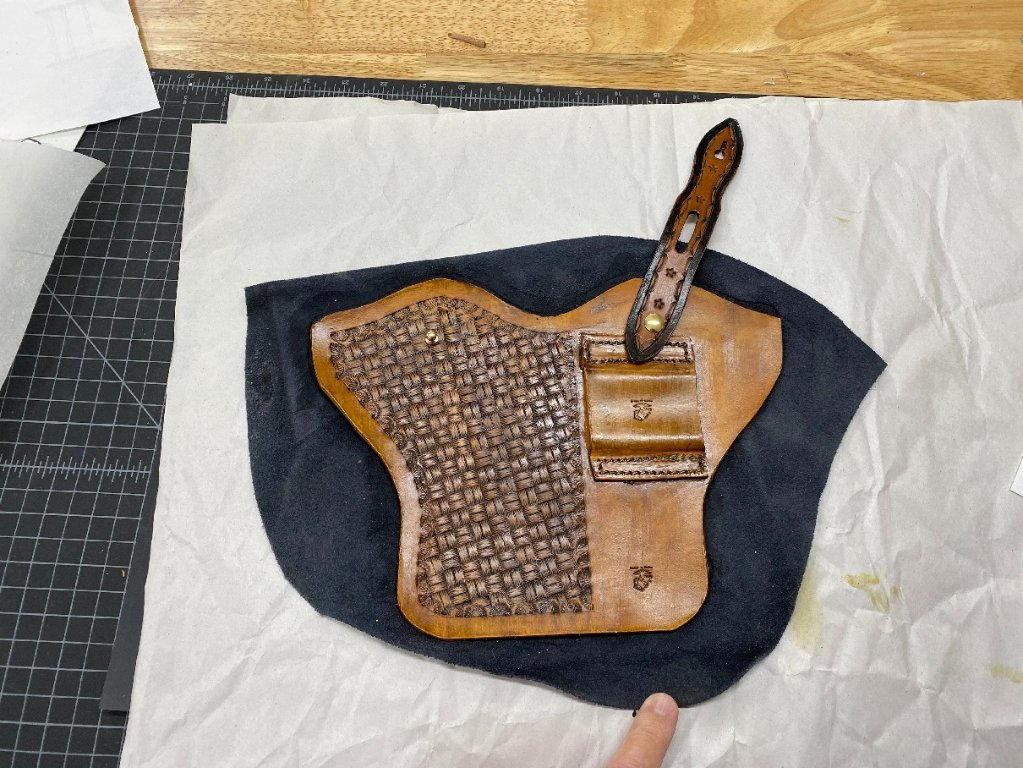
Tied up all day, but got out this evening and removed the weight from the stack and pulled out the holster. The lining is pretty well glued in place.
The only place it wasn't really glued in perfect was right at the edges, but that will be sewed down. You can see the hardware in this picture but will get a good look in the next.
- 18 lining and hardware.jpg (183.51 KiB) Viewed 743 times
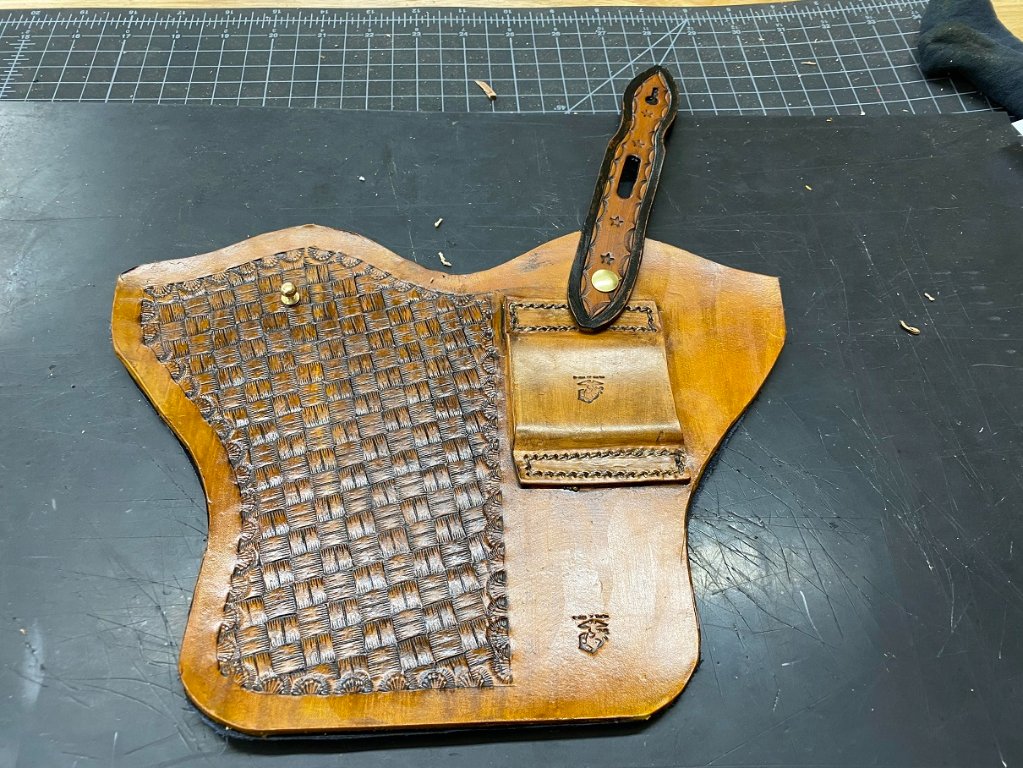
After trimming away the excess, I rubbed down the leather with Mink Oil to insure it stays flexible and to add some waterproofing. We want flex, we are about to fold and clamp to prepare for sewing. Here you can see the brass stud that the retention strap will secure to, just as the ammo pouch secures. I chose a Chicago Screw that left some movement with the retention strap so it could be easily moved to the rear of the belt and tucked for freedom of movement of the Wrangler when needed.
- 19 trimmed and mink oil.jpg (218.76 KiB) Viewed 743 times
I painted the interior edges of the holster with contact cement and then when it was tacky, folded and clamped. It will cure overnight and hopefully we'll get a good hold until I get the edges sewn. I have to sand the edges then sew them down, a nice even double row. Then some finishing touches and Boom... done.
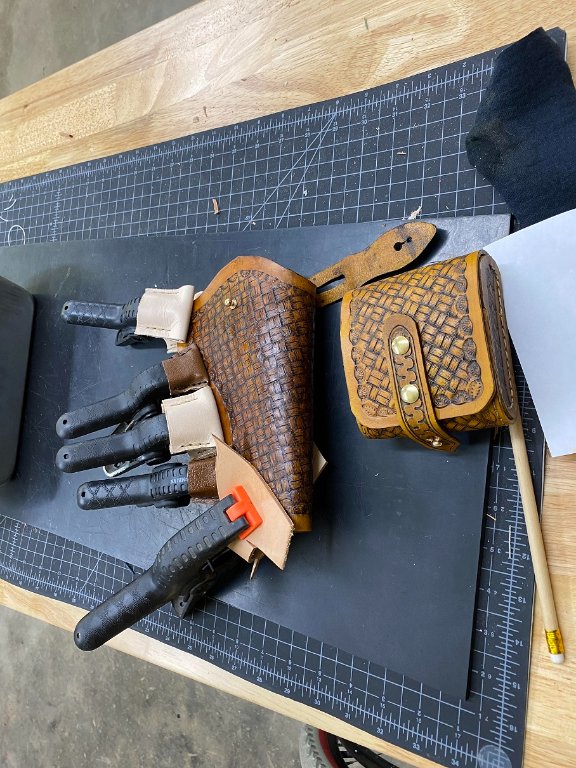
- 20 folded glued and clamped.jpg (131.09 KiB) Viewed 743 times
I set the pouch beside the holster, and I think I'll need to re-antique the pouch to darken it to match. No biggie.
Five minutes then some drying time.
Re: Wrangler Holster
Posted: Fri Oct 14, 2022 7:05 pm
by daytime dave
It looks GREAT marine!
Re: Wrangler Holster
Posted: Fri Oct 14, 2022 10:57 pm
by BrokenolMarine
I decided to wait until morning to sew. Wanted to give the glue overnight to set fully. I've come this far, want it to hold tight til the first line of stitches are in place. That will lock 'er down. Then I can make the second pass with confidence. When I finally burnish that edge and we get the finished holster, I hope it works well and the draw is smooth. It has been a learning experience, prepping me for the BIG project with the Uberti .357 Rig and belt set. I will take a break and shoot a bit and then start on that. Unless I decide to do a knife project first, or maybe a couple in preparation for Christmas. NOT that far away.