
Here in Aus tray backs are quite popular and nearly as many about as tubs, I find them much more versatile on a vehicle that sees use with work and play. The tray on my Nissan is 6'4" wide and 7" long so a reasonable size. Easy to load a bike just ride up ramps on one side and off the other when you unload. Have a cage that goes on I use for transporting sheep, No trouble fitting well over a dozen grown sheep, have a set of removable racks that allow me to transport lengths of steel or timber up to about 26'. A set of removeable side boards 12" tall are great when you just want to throw loose items in and when carting firewood. Like I was saying I just find them more versatile than a tub.
sheep crate
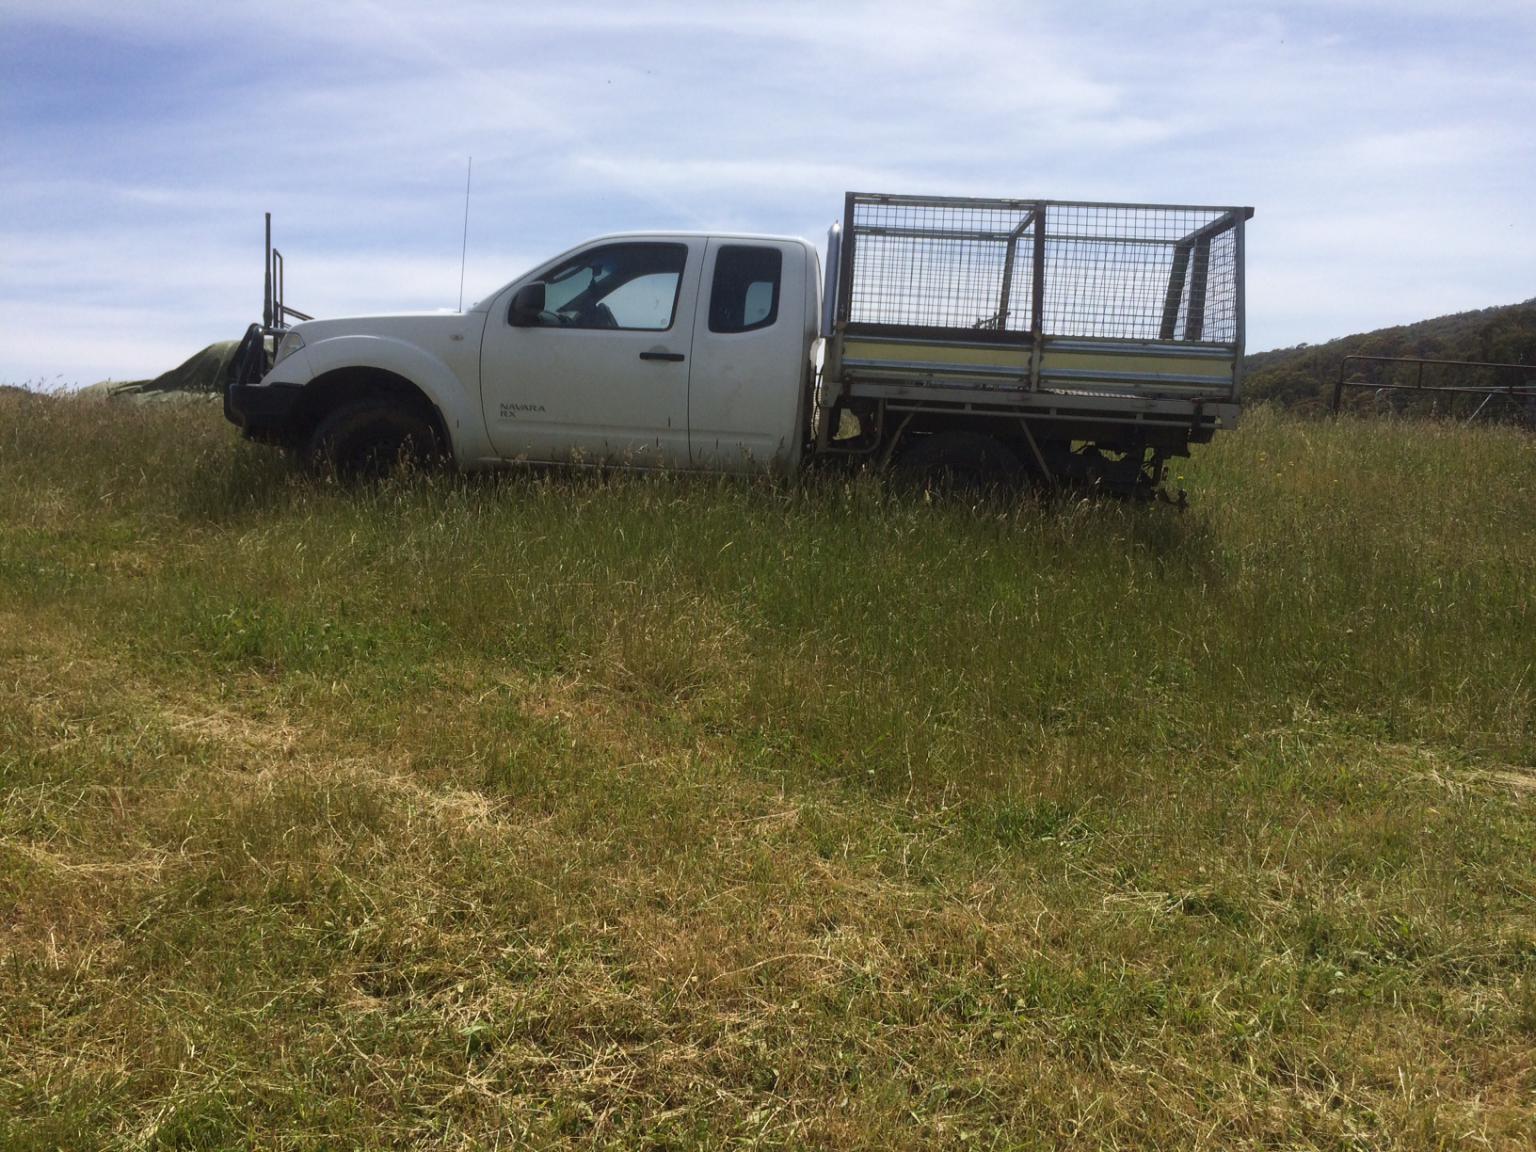
Plenty of camper trailer options available but decided I didnt want to be towing, just easier and less stressful without something hooked on behind when we might be doing 600 miles in a day. Price is also getting expensive with most reasonable equipped off road capable camper trailers now close to $20k. Lots of commercial slip on units also available but again getting expensive.
Decided I would have a go at building one myself, had a bit of a list of what I wanted.
Quick setup, want something I can set up and pack up in minutes, wanted something that is removable and could still be used when removed from the vehicle. simple kitchen and refrigerator and lighting and to keep the build as cheap as possible with easy access to everything.
Actually started on it about 18months ago, built the basic frame and slowly purchasing bits and pieces. Already had a 12v fridge and a dual battery setup in the vehicle with a deep cycle battery. Having been using it for a few years one problem had become obvious and that was access when it is on the tray. With a tray height of 3"4 and the fridge being 2" high and top opening my wife had to climb onto the tray to access it. Not as much of a problem for me at 6'2" but still not ideal. Camper would limit access to the tray so needed a solution to improve access. Mounting it on a slide would improve access but not really do anything about the height. Commercial slides that drop down are available but starting at around $1000 out of my budget. Ended up purchasing a conventional slide for $100 and modifying it to a drop down arrangement. With the fridge access sorted it set the size of the doors needed. I purchased 4 jacking legs with 16" lift rated at 5000lbs with the intention of modifying their height and attachment method to increase stability. With that done I started the build and tacked everything together.
Cut the round attachment sockets off the legs and replaced them with twin RHS that slip inside RHS on the camper. It also allowed me to get an additional 4" of clearance either side to make backing under the elevated camper easier and safer.
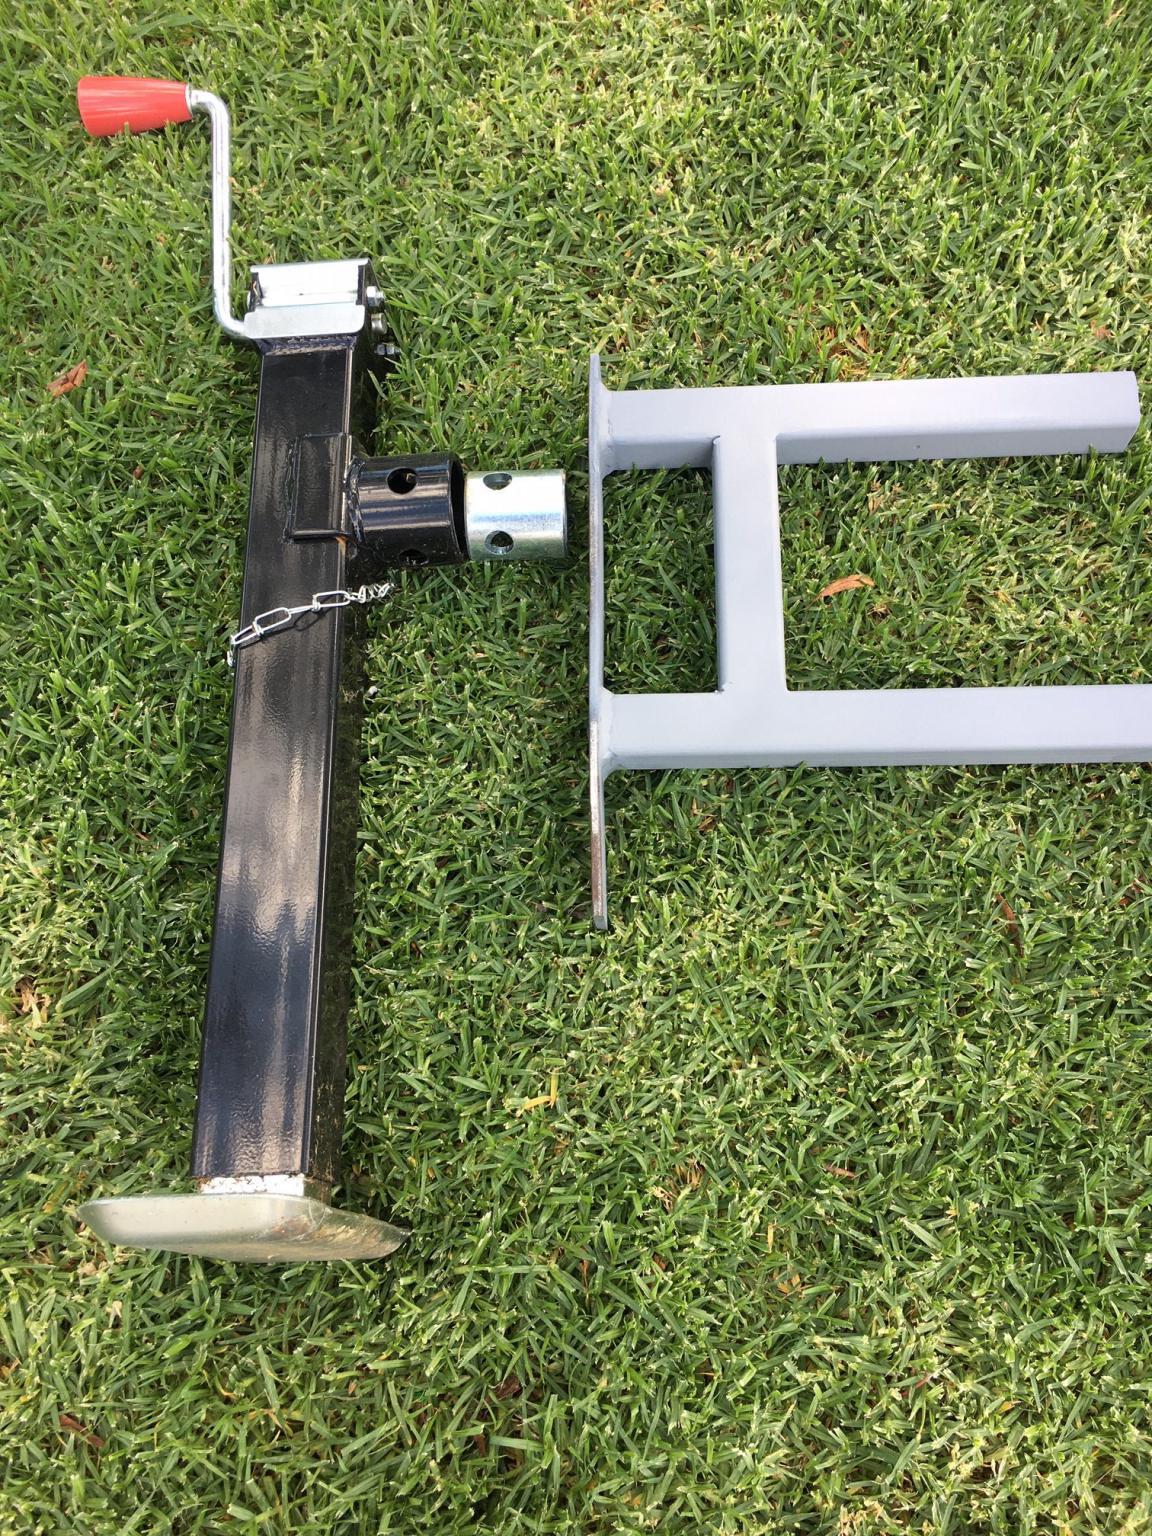
The basics tacked together
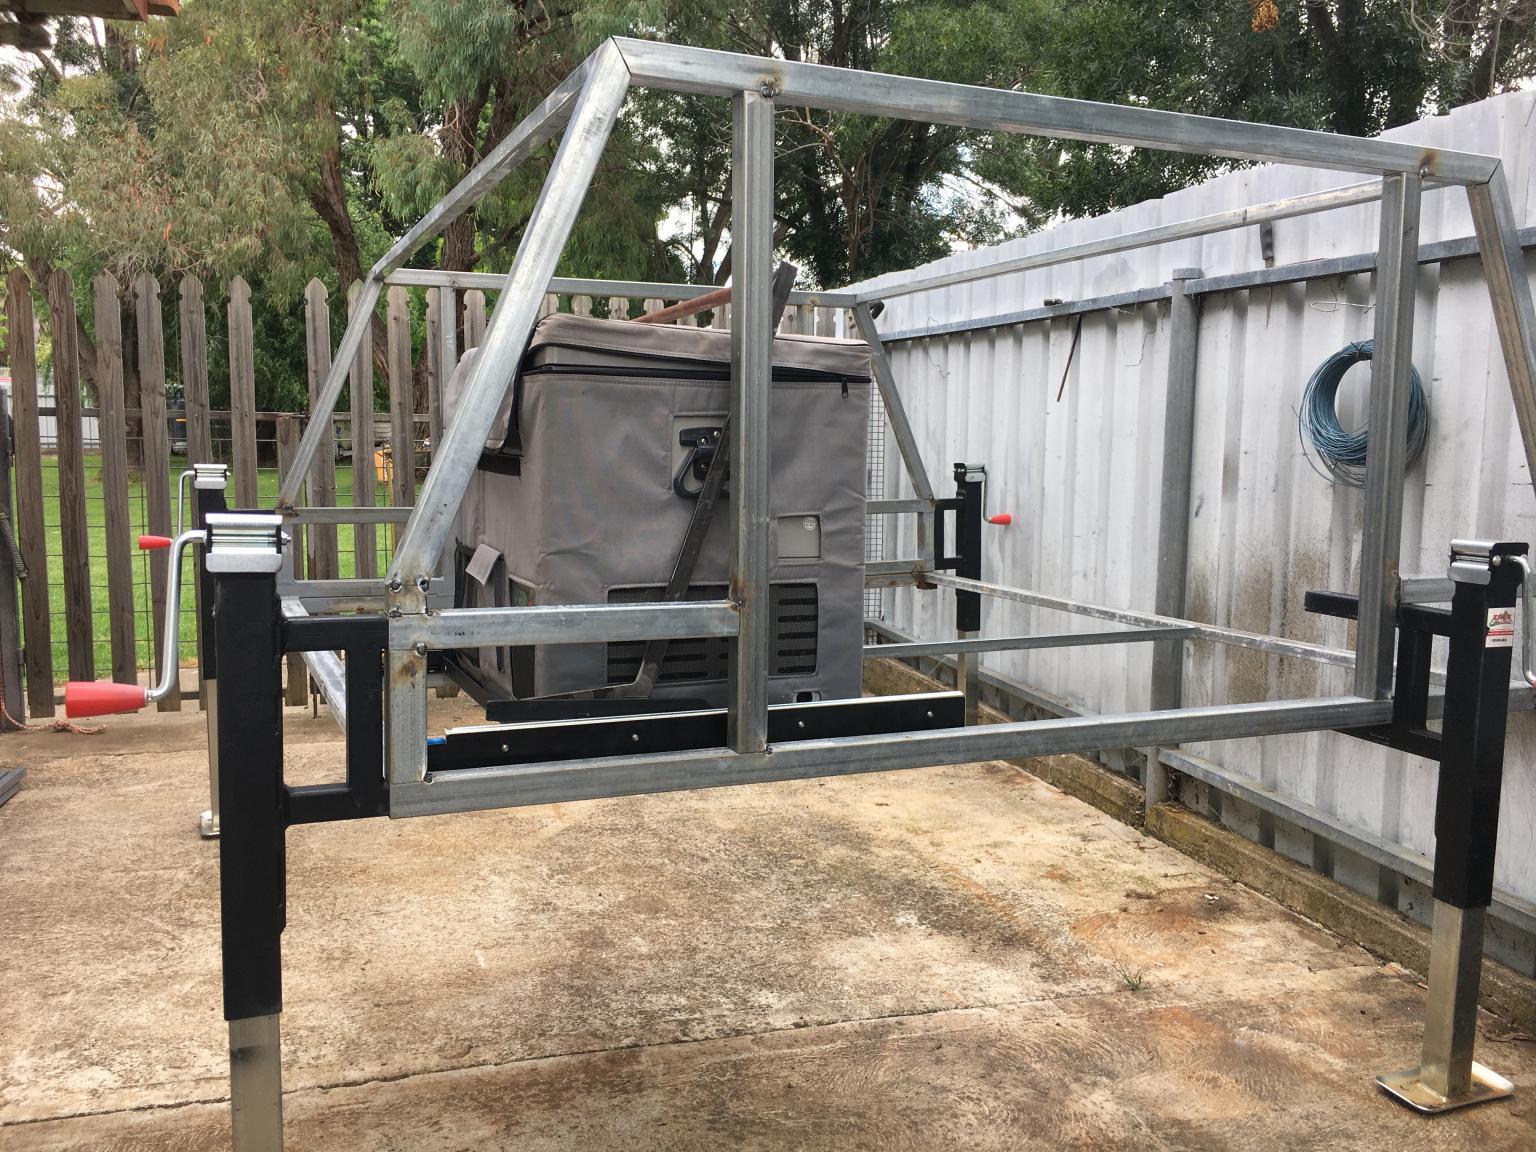
Once the basic frame was welded together I moved onto the doors. Went with a top hinge setup and as no one wants to be holding doors up when trying to access things added some gas struts after working out what size and length was needed and a mounting solution.
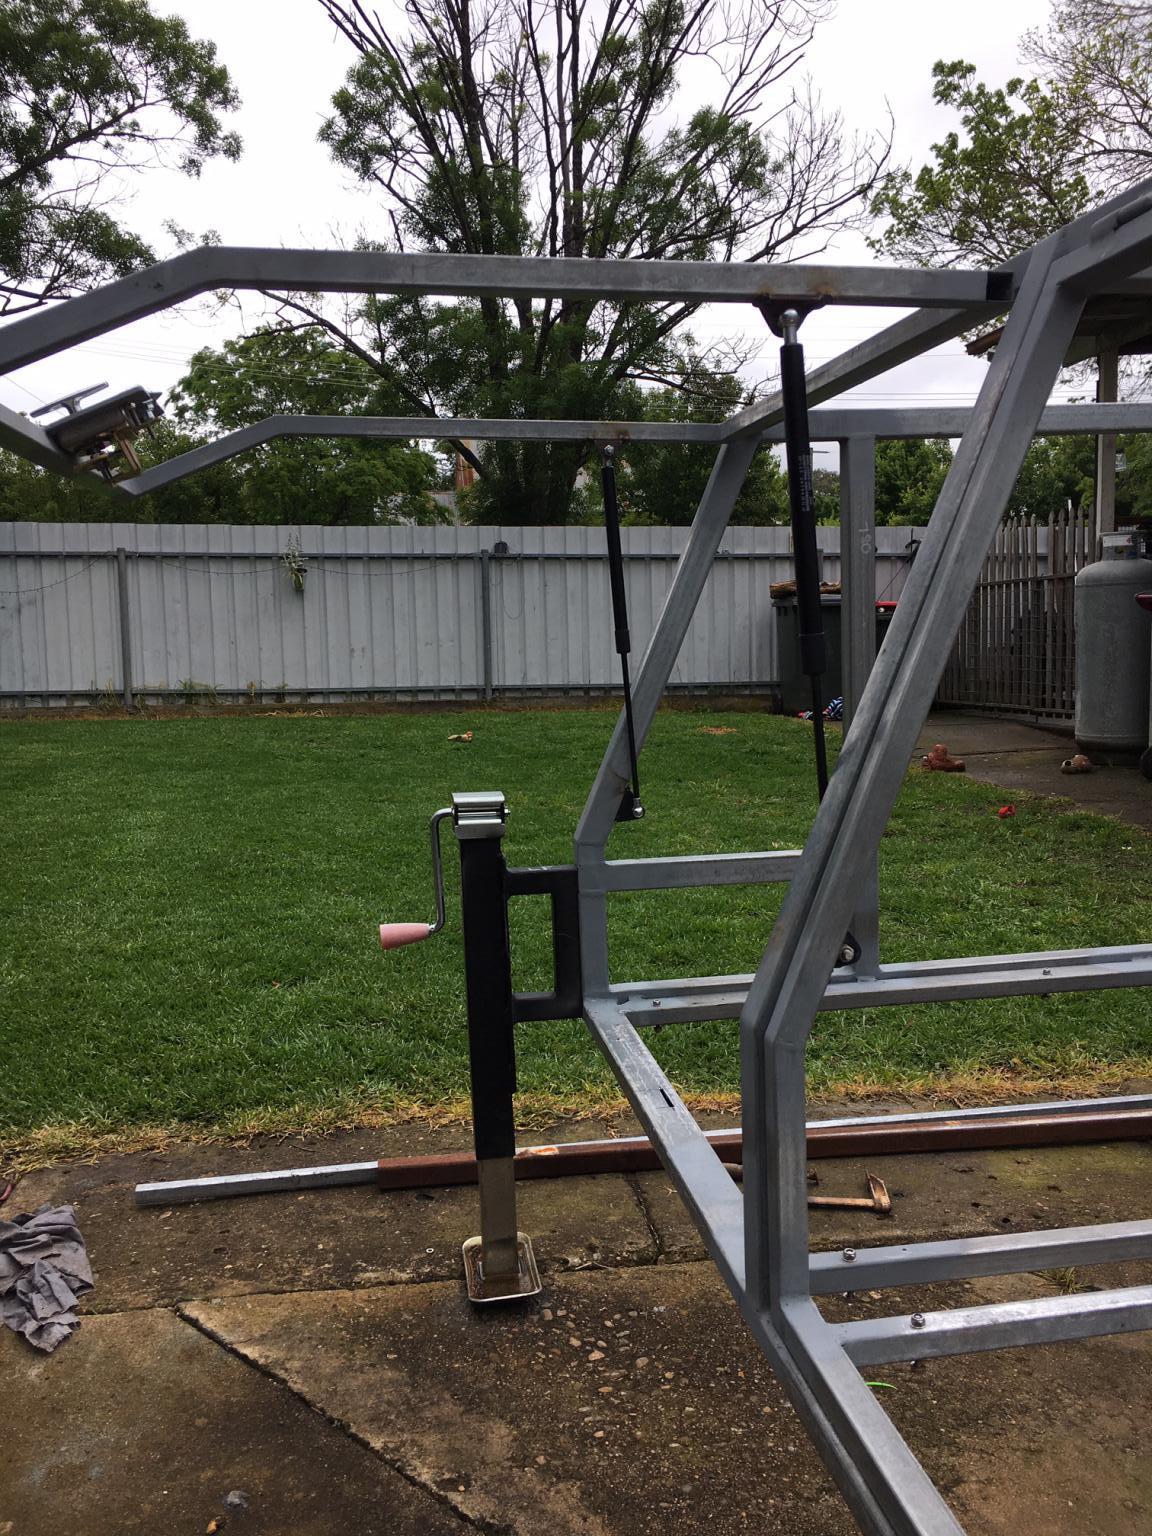
Next was to sort door latches and a kitchen, went with a locking T handle latch and purchased another fridge slide to modify into a drop down arrangement for the kitchen. The cheap slides I had found previously were priced cheaper than buying the same 250lb rated locking slides separately. Kitchen size was dictated by the opening I had beside the fridge and the dual cooktop.
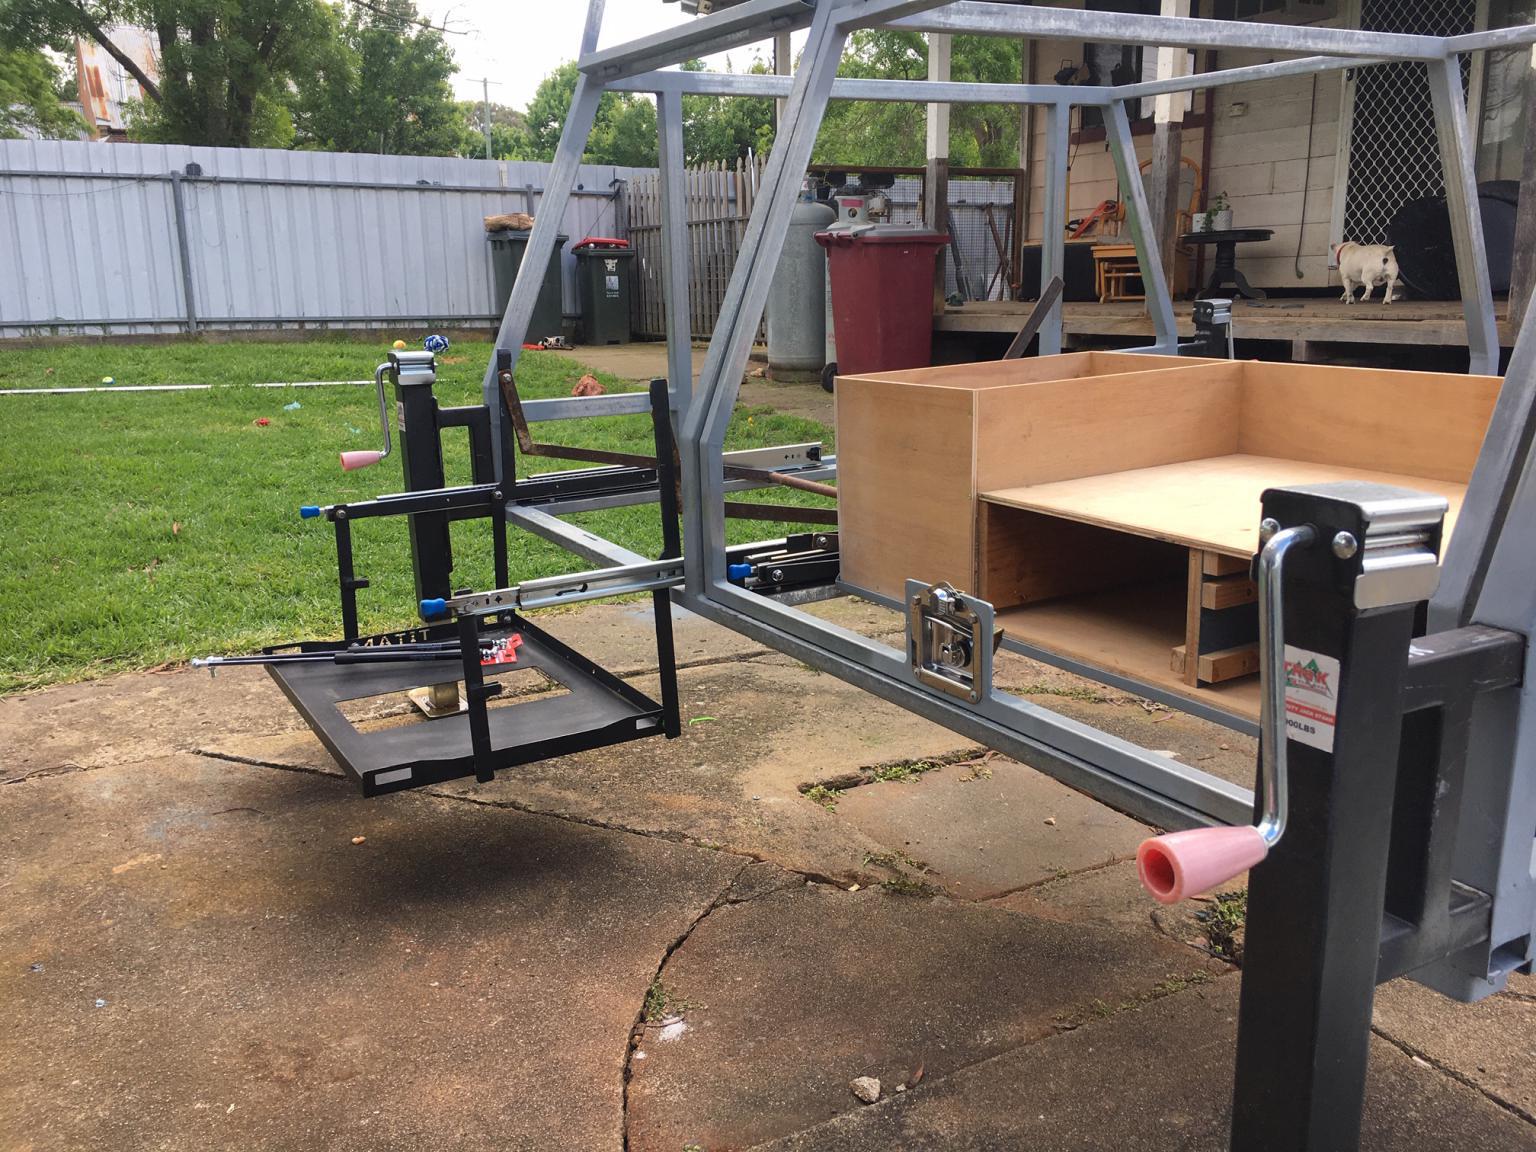
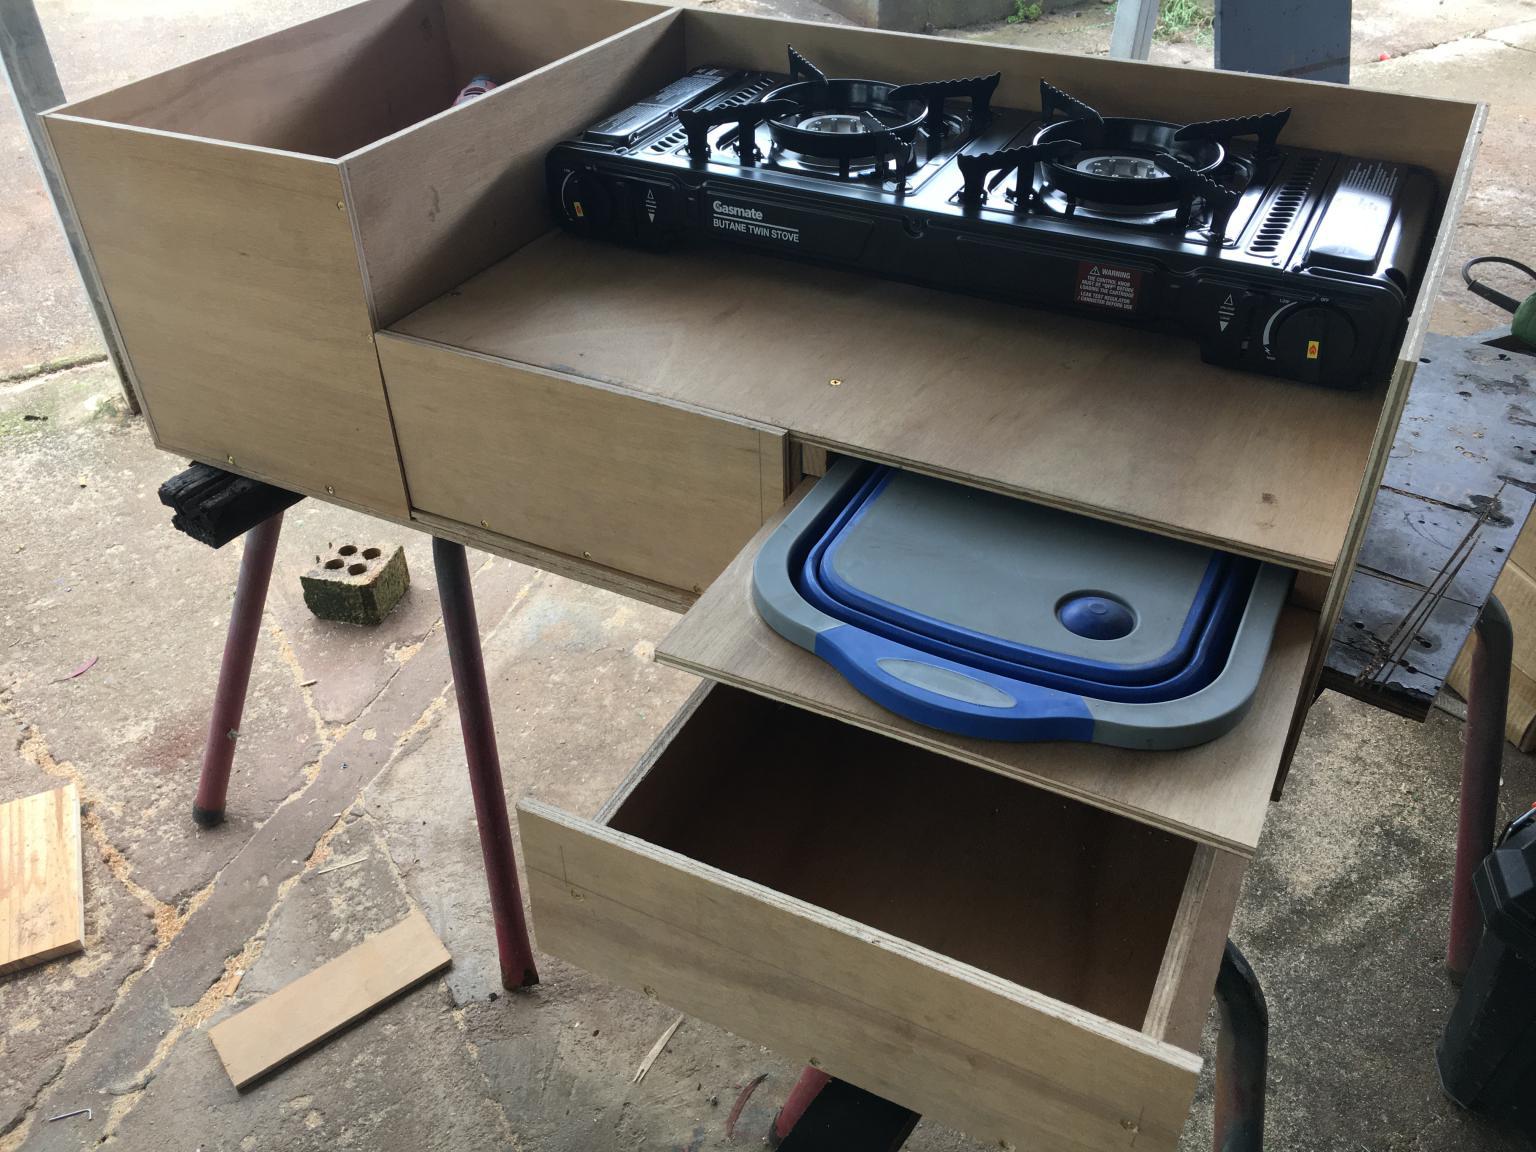
Went with a fairly basic setup made from ply, a storage box at one end, a twin burner cooker with a slide out collapsible sink that can double as a cutting board and prep area and a couple of draws for utensils.
Next I moved onto security and weather proofing, alloy sheeting would be hard to beat for both but not really setup to weld or fold alloy. Even then still need weather stripping on all openings, joins etc and with something that will undoubtable flex a bit with the vehicle almost certainly still have some water get in and will add a fair bit of weight. Ended up just putting 2"x3" mesh on the doors for a bit of security and covering it with a cheap poly tarp secured with bungy cords. Installed a 12 panel that has 3 cig outlets a couple of USB outlets 5 switched outlets a voltage readout a couple of anderson plug outlets all fused and the ability to install a DCDC charger if needed down the track.
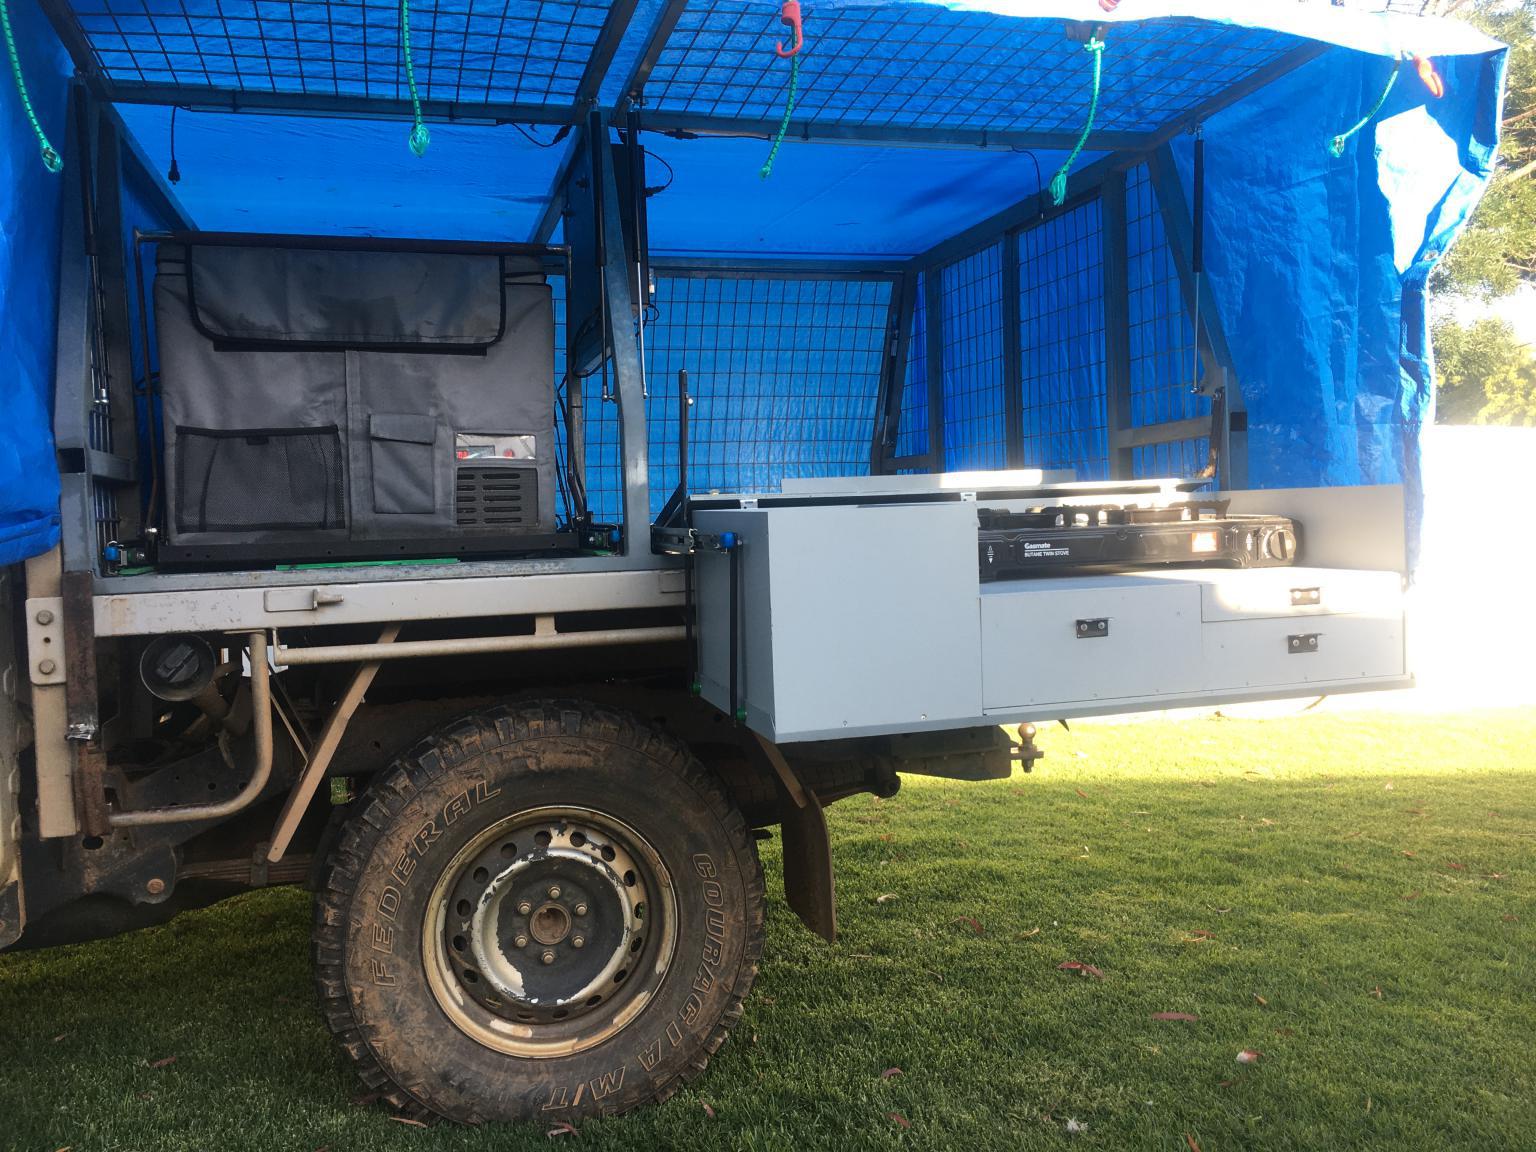
With that done was in a position to give it a few test runs on day trips to see what needed modifying.
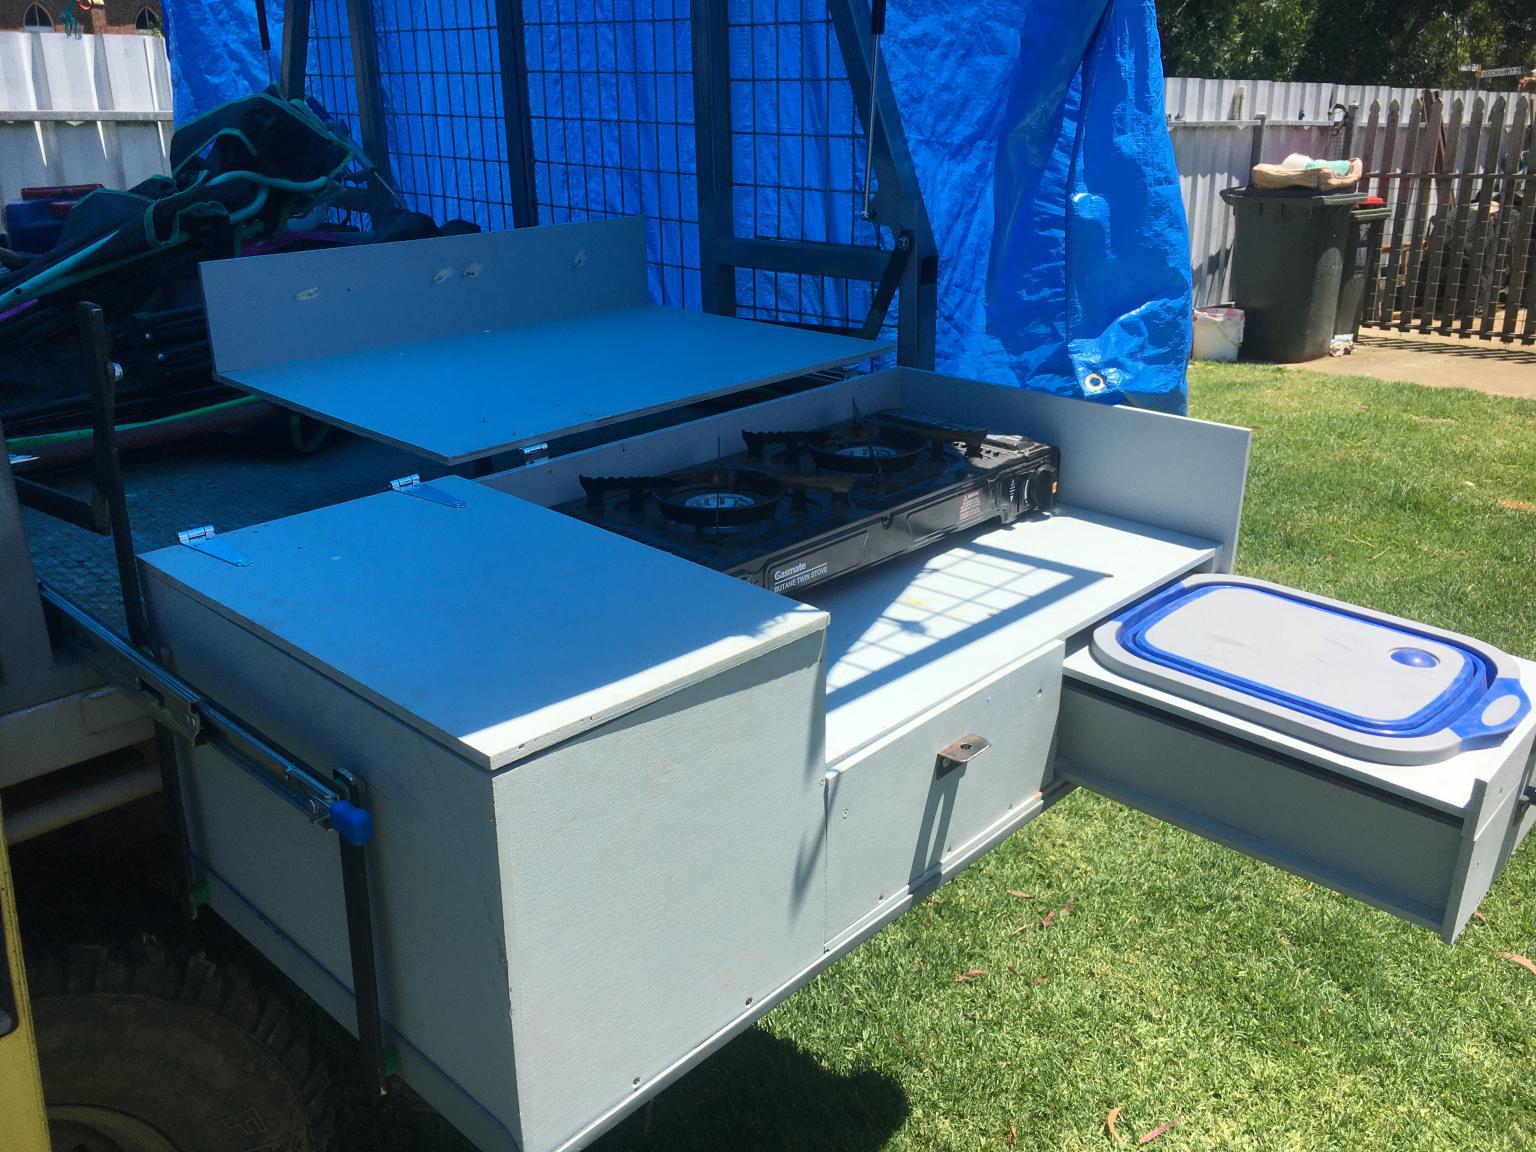
Happy with most of it, cheap tarp isn't ideal and no real rain to test how weather proof it proves to be but hasnt torn yet and no flapping even at 70mph. A custom fitting canvas cover zippered on the 4 corners would be ideal and will probably go that way down the track when the budget allows. Did find a bit more bench space would be nice with the kitchen to save setting up a table on quick stops.
With that in mind I modified the kitchen top. It was one piece so I cut it so the storage bin lid is separate to the cooktop it gives a bit more flat space beside the cooker. Given the cooker lid opens to the back and sits on top of the drop down handle that folds back out of the way onto the tray I added a leg to the handle. Now have the lid fully supporter when open and have another large flat area. No good for any prep but plenty of room to sit things and they wont be taking up room in the limited prep space.
Happy enough with how everything was I finally mounted the roof top tent the family all chipped in and purchased for Christmas yesterday.
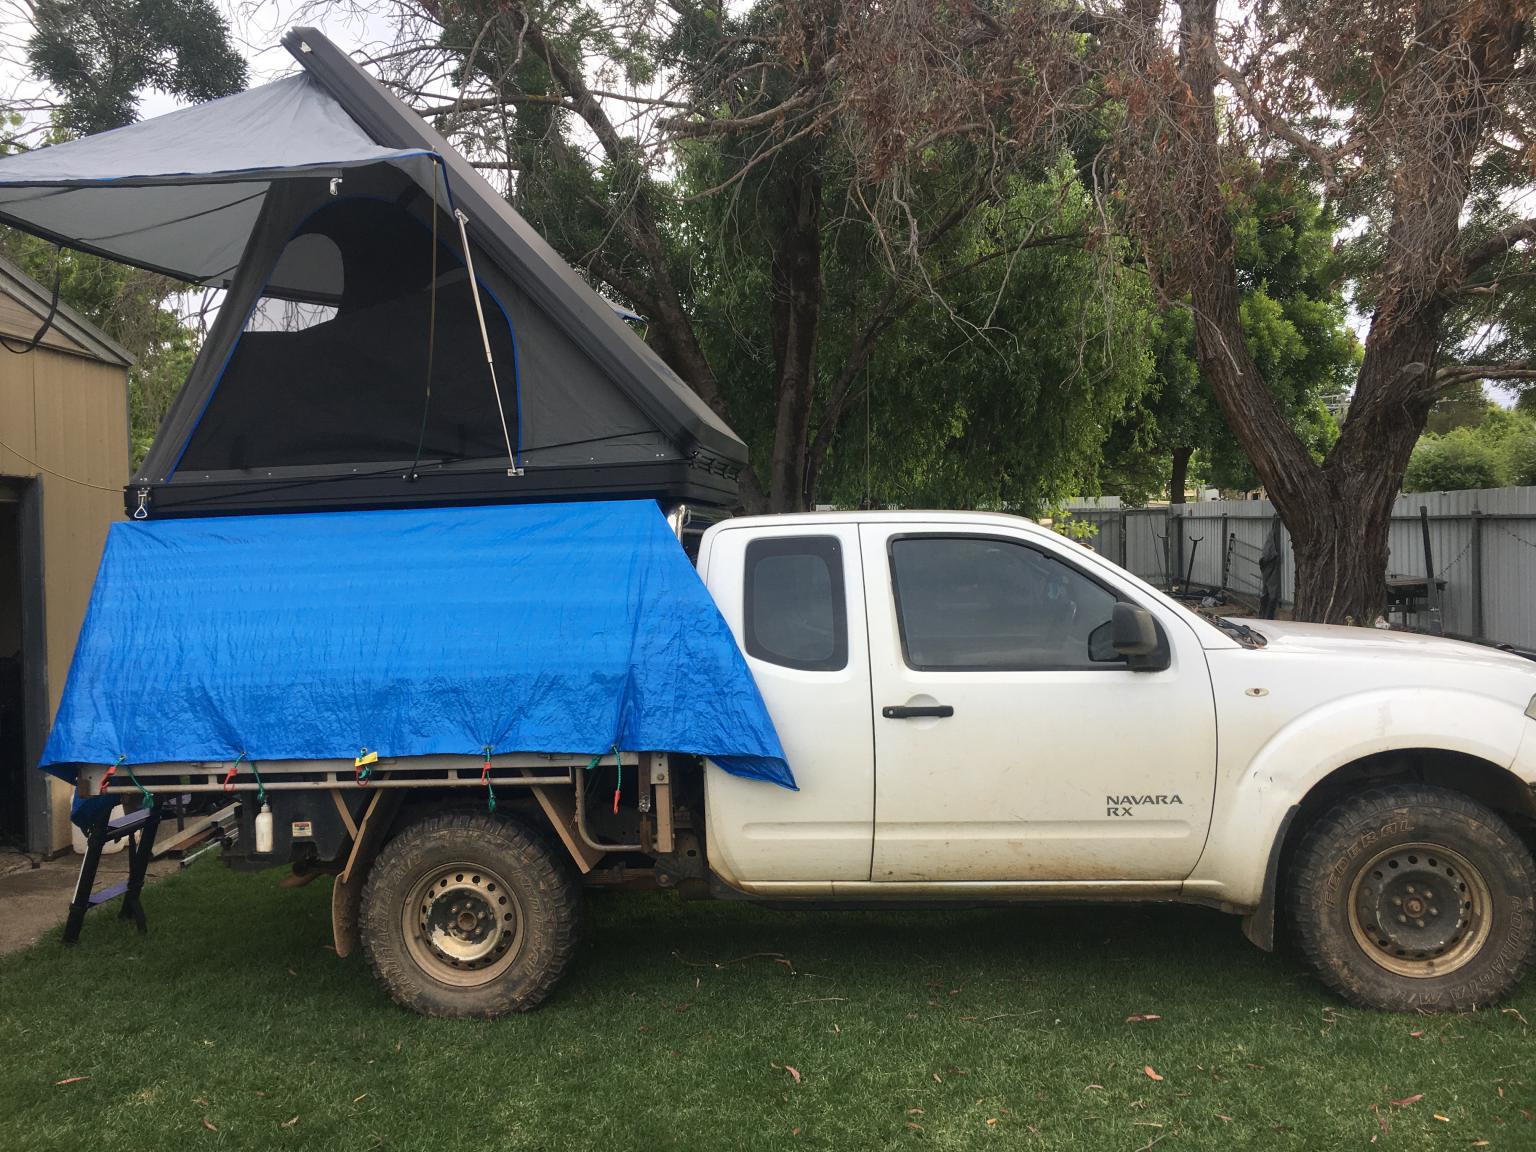
Quick test in the yard it took about 10 minutes to setup the tent and kitchen, Packing it up about 5min. Think that will get even shorter with familiarity. Tent is a hard shell, set up is really simple, hookup the collapsible ladder for access, undo 2 clips and help the gas struts open it. 4 poles for the 270 degree awning or it can be rolled up out of the way. It is only the same width as a double bed but longer than even a king with enough room that all your bedding can be left in place when it is closed.
Now to get out and use it.


